Pygame Shmup Part 7: Score (and Drawing Text)
Mon, Aug 29, 2016This is part 7 of our “Shmup” project. If you haven’t already read through the previous parts, please start with Part 1. In this lesson we’ll start keeping score and learn how to display text on the screen.
About this series
In this series of lessons we’ll build a complete game using Python and Pygame. It’s intended for beginning programmers who already understand the basics of Python and are looking to deepen their Python understanding and learn the fundamentals of programming games.
You can watch a video version of this lesson here:
Keeping Score
Keeping track of the player’s score is pretty simple: we just need a variable, which we’ll initialize to 0 and add to every time a bullet destroys a meteor. Since we have different sized meteors, and big ones are easier to hit than small ones, it also makes sense to give more points for hitting a smaller one.
We’ll call the variable score and initialize it before the game loop:
for i in range(8):
    m = Mob()
    all_sprites.add(m)
    mobs.add(m)
score = 0

# Game loop
running = True
To assign points based on the size of the meteor, we can use the radius property that we used before. The biggest meteor image is about 100 px wide, and its radius is 100 * .85 / 2 = 43 px while the radius for the smallest meteor is about 8 pixels. So if we subtract the radius from a bigger number, say 50, we’ll have the big meteors giving 7 points and the smallest giving 42.
# check to see if a bullet hit a mob
    hits = pygame.sprite.groupcollide(mobs, bullets, True, True)
    for hit in hits:
        score += 50 - hit.radius
        m = Mob()
        all_sprites.add(m)
        mobs.add(m)
Rendering Text
Now we have a variable holding our score, but we need to be able to draw it on the screen, and that’s a little trickier. Drawing text in Pygame is a little bit involved, and takes a few steps. If you’re going to be drawing text more than once, then it makes sense to create a function, which we’ll call draw_text to handle it for us. The parameters of this function will be:
surf- the surface we want the text drawn ontext- a string that we want to displayx, y- the location
We’re also going to need to choose a font. This can be a problem if you choose a font that doesn’t exist on the computer you’re using. We can solve this problem by using pygame.font.match_font() which searches the system for the closest matching font.
Here is the draw_text function:
font_name = pygame.font.match_font('arial')
def draw_text(surf, text, size, x, y):
    font = pygame.font.Font(font_name, size)
    text_surface = font.render(text, True, WHITE)
    text_rect = text_surface.get_rect()
    text_rect.midtop = (x, y)
    surf.blit(text_surface, text_rect)
Drawing a font to the screen means calculating exactly what pattern of pixels is needed - the computer graphics term for this is “rendering”. This is what the font.render() function is doing. However, you might be wondering what that True parameter is for. This is an option to turn on/off something called anti-aliasing.
Anti-aliasing
If you’ve ever tried to manually draw something with pixels (or blocks in Minecraft, etc.), then you know it’s very hard to draw curved lines on a square grid - you wind up with a jagged shape. This jaggedness is called “aliasing”, and you can see an example of it here:
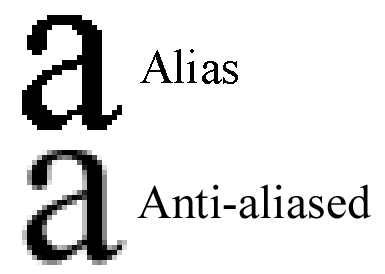
That first “a” character looks very blocky because of aliasing. Anti-aliasing is how modern computers make text on the screen look less jagged. They do this by blending the pixels on the edge of the shape with the background color. In the example, you can see how the black “a” has grey pixels around it. When zoomed out, this makes the font look very clean and curved.
Displaying the Score
Now we’re ready to show the score on the screen. We just need to add to our draw section, showing the score at the top center of the screen:
# Draw / render
    screen.fill(BLACK)
    screen.blit(background, background_rect)
    all_sprites.draw(screen)
    draw_text(screen, str(score), 18, WIDTH / 2, 10)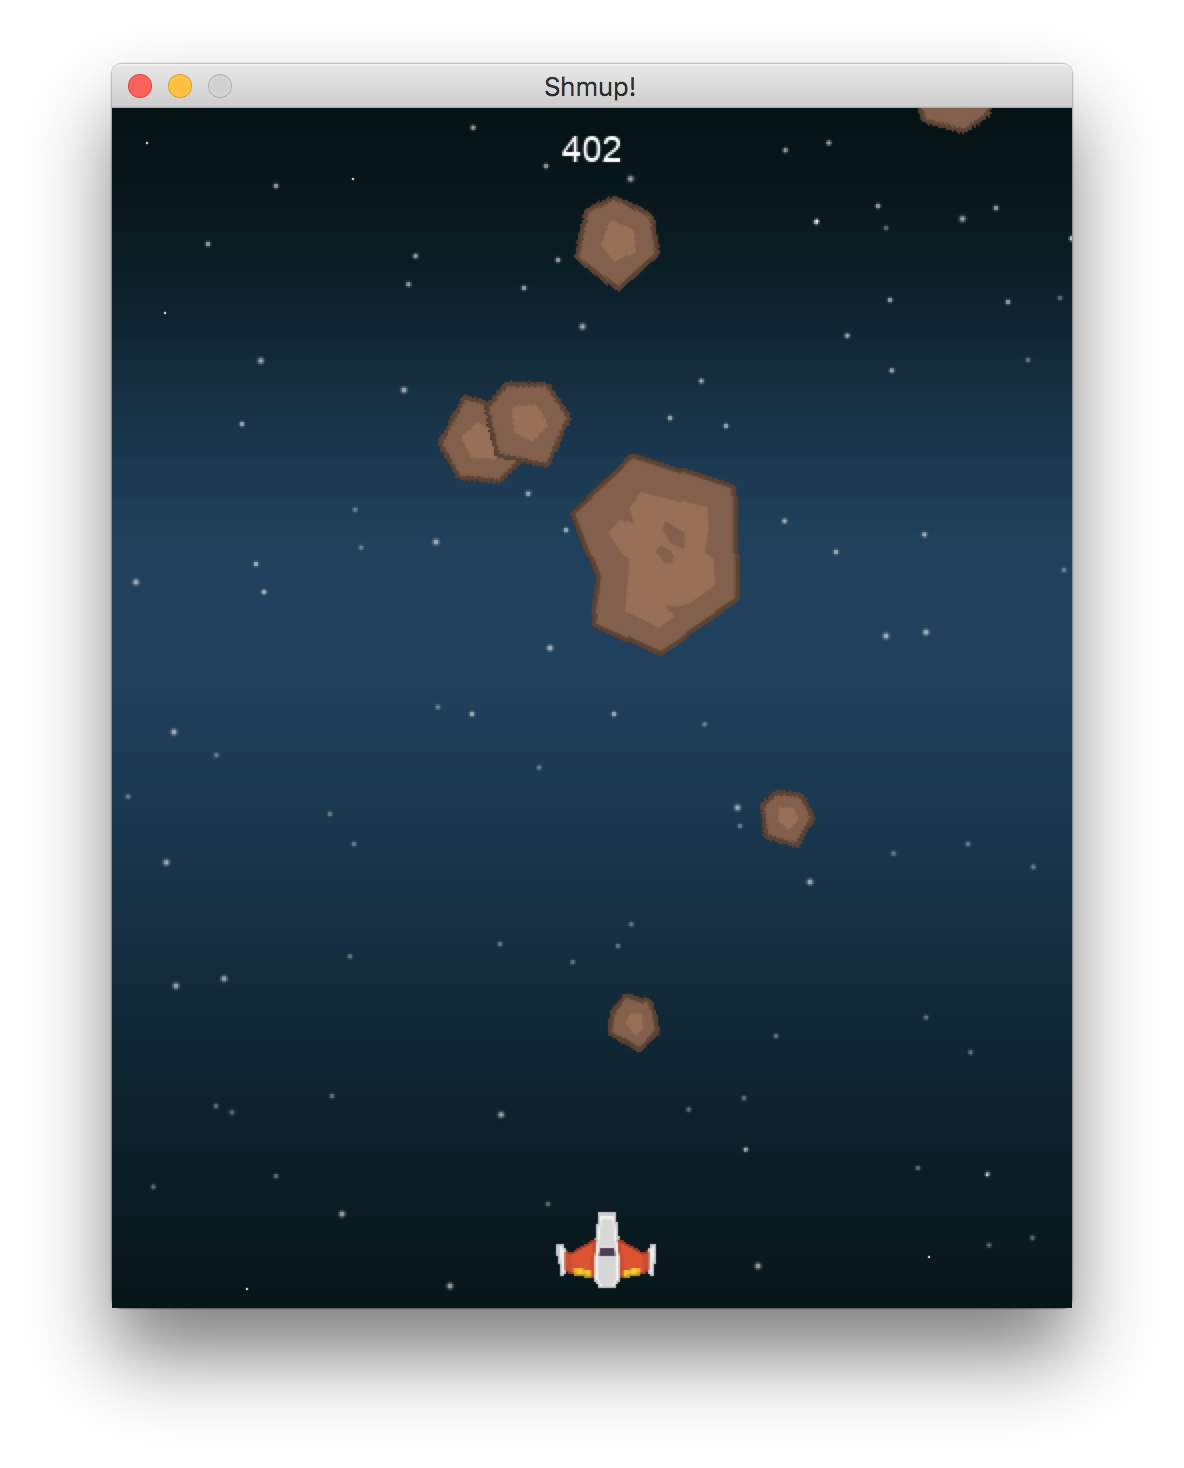
That’s it! In the next part we’ll spice things up by adding sound and music!