Godot 101 - Part 2: Scripting
Sat, Feb 11, 2017![]()
This is part 2 of “Godot 101”, where we’ll introduce Godot’s scripting language, GDScript. If you haven’t already read through the previous parts, please start with Part 1.
About this series
Godot 101 is an introduction to the Godot game engine and how it works. If you’ve never used a game engine before, or if you’re just new to Godot, this is the place to start. If you’re new here, a quick note about this website: we’re called KidsCanCode because we teach programming and game development to kids, but if you’re an adult you’re welcome here, too. We don’t believe in dumbing-down the material for kids, and game development is hard - so it will probably be challenging no matter what your age.
You can watch a video version of this lesson here:
Scripting
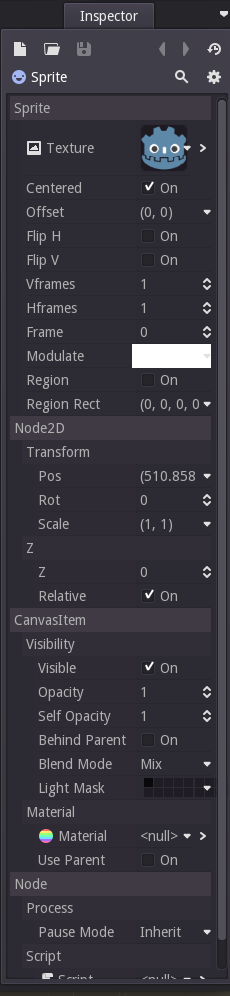
In the last part, we created our Sprite node and set its texture. However, if you look in the Inspector tab, you’ll see there are lots of properties that you can set for a Sprite node:
 Click to enlarge
For example, if you pick up the sprite and move it around, you’ll see the Pos property change. You can also click on the property and type in the coordinates you want. To write a script that will move the sprite around, this is the property we want to control.
So let’s add a script. Right-click on the Sprite in the scene tab, and choose Add Script. You’ll see the following window:

We don’t need to change anything here, but I’ll just point out a couple of things. First, the Inherits box lists Sprite - if you’re familiar with Object-Oriented Programming (OOP), you’ll recognize this means our script is going to extend the Sprite class. We’ll have all the properties and functionality of a Godot Sprite, plus whatever we add ourselves. The file will be named “Sprite.gd”, which is fine.
extends Sprite

# class member variables go here, for example:
# var a = 2
# var b = "textvar"

func _ready():
	# Called every time the node is added to the scene.
	# Initialization here
	pass
This is the default script, and it has some helpful comments to get you started. Go ahead and delete the comments (lines starting with #).
If you’ve used Python, GDScript will look very familar. func _ready() indicates a function. This _ready() function will be called every time the node is created and added to the scene (like when we click “Play Scene”).
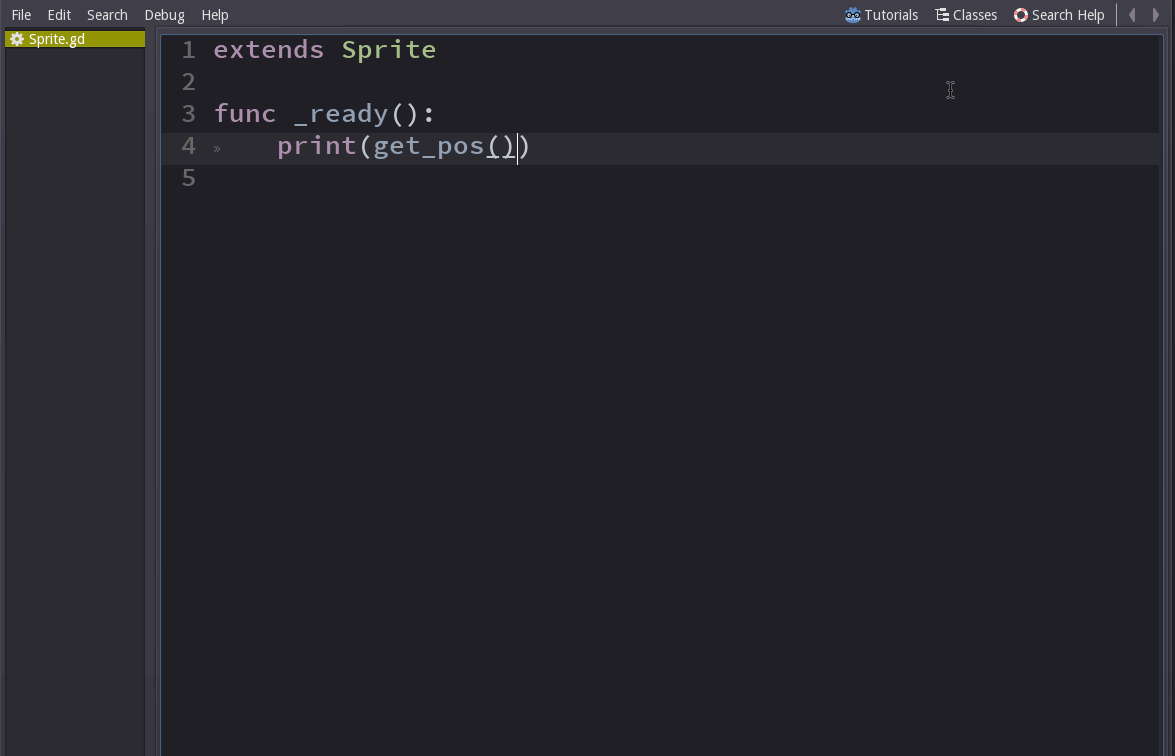
To show how this works, try adding the following line to the _ready() function:
func _ready():
	print(get_pos())
When you play the scene, you will see the sprite’s coordinates (the same ones in the Pos property of the Inspector) appear in the “Output” tab of the Godot window. But how do we know what methods we can use on a Sprite node? Let’s use the built-in reference documentation:
 Click to enlarge
Here we can see all the methods a Sprite node has. But get_pos() isn’t there! That’s because if you look at the Inspector again, Pos is a property of Node2D, which Sprite inherits from. Click Node2D and you’ll see the get_pos() method description, which tells us it returns a Vector2 object.
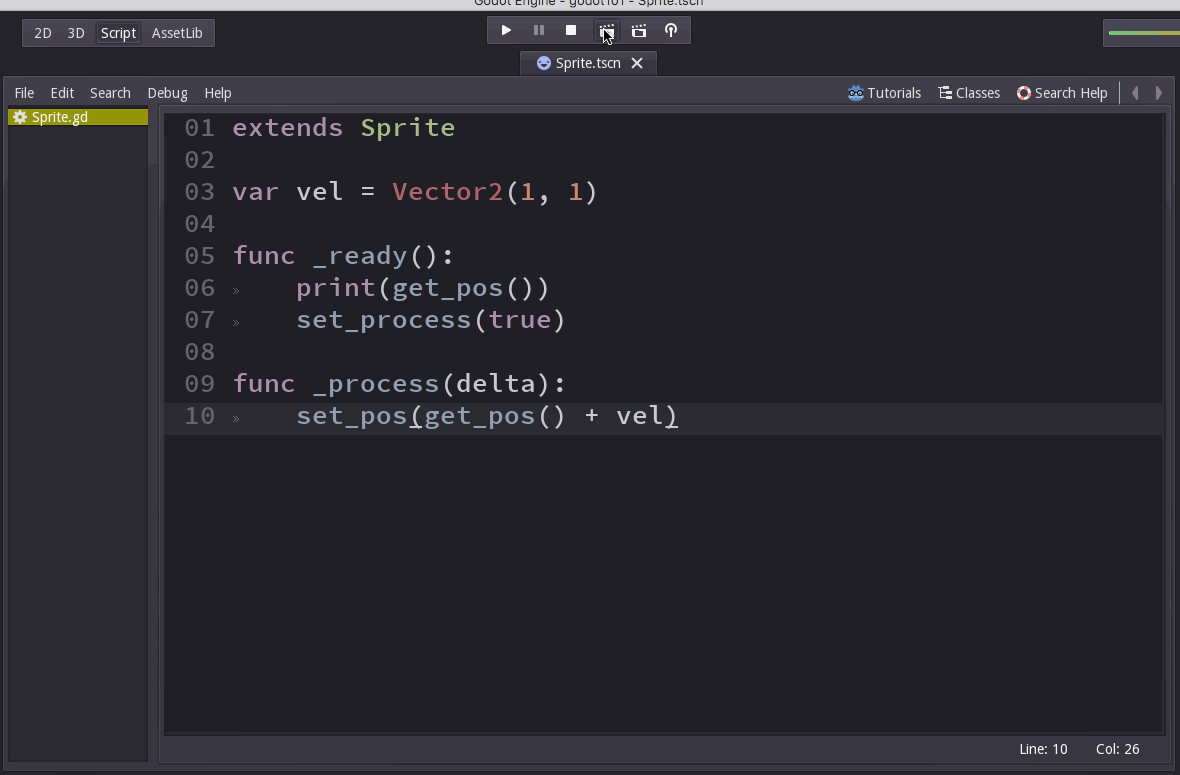
To move the sprite, we need to change the value of Pos over time. Just like any other game engine, Godot is running a loop at a certain speed (typically 60 frames per second), and we just want to move the sprite a little bit each frame. Here’s our updated code:
extends Sprite

var vel = Vector2(1, 1)

func _ready():
	print(get_pos())
	set_process(true)

func _process(delta):
	set_pos(get_pos() + vel)
First, we declare a variable called vel and set it to Vector2(1, 1) - we will move our sprite 1 pixel each to the right and down.
Next, we have to call the set_process function and set it to true. This tells Godot that this object wants to do something every frame. What it will do is whatever code we put in the _process() function. Now when we run, we’ll see this:
 Click to enlarge
This is fine, but we can do better. One of the things we need to take into account is that the game loop may not always run at exactly 60 fps. That means that if we move the same distance every frame, our movement may not be smooth. In other words, instead of our velocity being in units of pixels/frame we want the units to be pixels/second. We can accomplish this using the delta parameter, which measures exactly how long it’s been since the previous frame:
extends Sprite

var vel = Vector2(100, 50)

func _ready():
	print(get_pos())
	set_process(true)

func _process(delta):
	set_pos(get_pos() + vel * delta)
Wrapping up
That’s the basics of scripting. We added a script to our Sprite node to make it do something every frame. For fun, try making the sprite rotate by adding this to the _process function:
set_rot(get_rot() + PI * delta)Feel free to try changing other properties of the node and see what happens.
In the next lesson, we’ll finish our script by making sure the sprite stays on the screen by bouncing off the edges.