Godot 101 - Part 12: Camera and Scrolling Background
Sat, Apr 15, 2017![]()
This is part 12 of “Godot 101”. In this installment, we add a camera to follow the player, and make a scrolling background. If you haven’t already read through the previous parts, please start with Part 1.
About this series
Godot 101 is an introduction to the Godot game engine and how it works. If you’ve never used a game engine before, or if you’re just new to Godot, this is the place to start. If you’re new here, a quick note about this website: we’re called KidsCanCode because we teach programming and game development to kids, but if you’re an adult you’re welcome here, too. We don’t believe in dumbing-down the material for kids, and game development is hard - so it will probably be challenging no matter what your age.
You can watch a video version of this lesson here:
A Bigger World
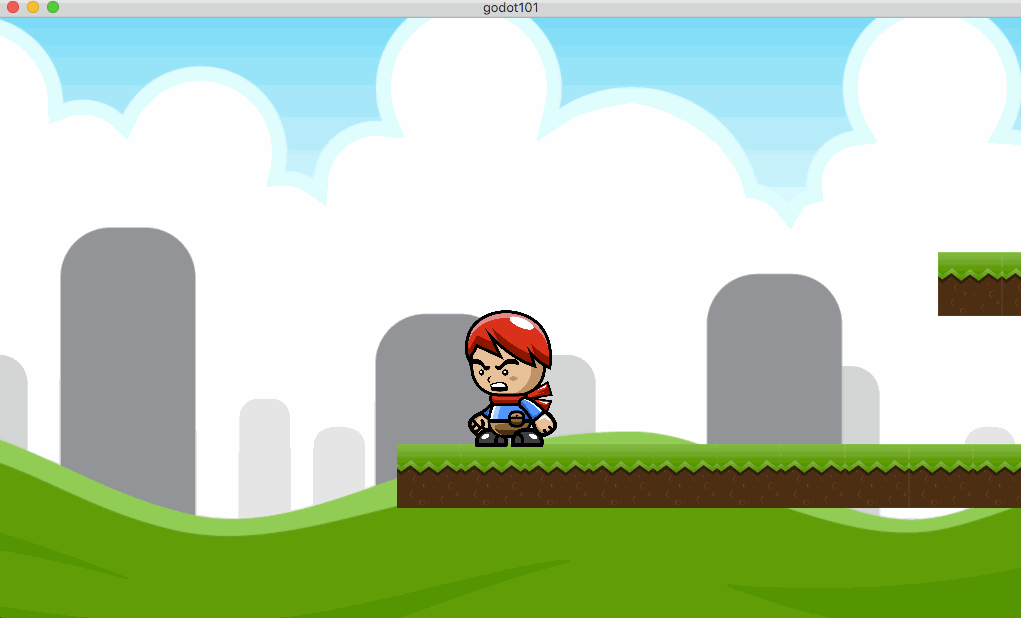
Start by going to your main scene and duplicating the platform instance 2 more times. Take the new instances and arrange them to the right like this:
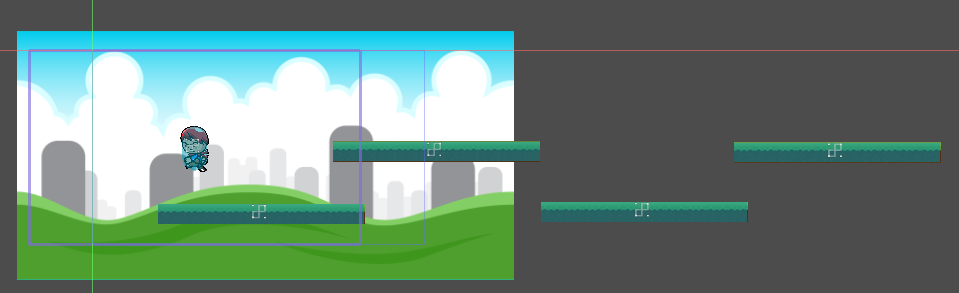
Now we have a much bigger “level” to run around in, but we can’t get to the new platforms because they’re off the screen. We need a “camera” that will track the player wherever he goes. This is easily done in Godot using the Camera2D node.
Switch to your player scene and add a Camera2D - I named mine camera.
Here is what you’ll see in the Inspector:
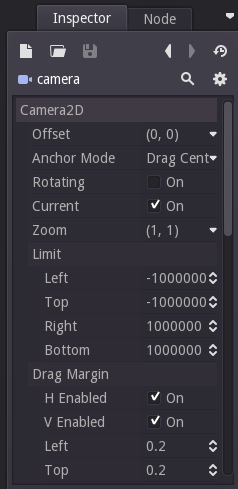
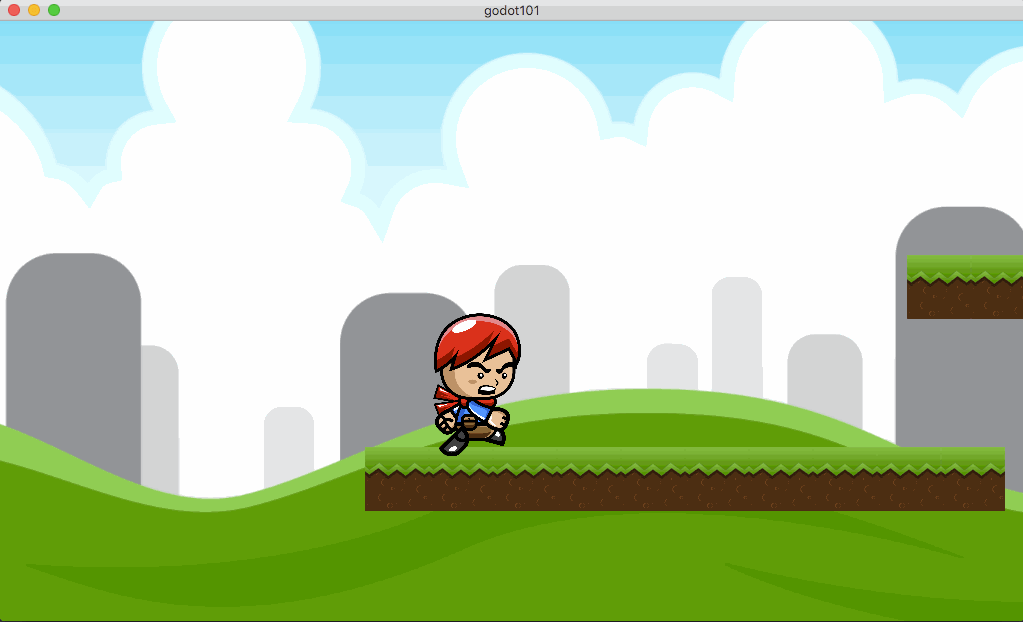
In order for the camera to work, you must current the Current property. It is possible to have multiple cameras in a scene, but only one can be Current, and that is the one the game window will track. That’s it! Hit play and now you have a camera locked to the player:
Feel free to experiment with the other camera settings in the Inspector. Smoothing controls how the camera “catches up” to the player when it moves, and the Drag Margin settings will let you adjust how close to the edge of the window the player can get before the camera moves.
Repeating the Background
Now we need to fix the issue of the background only covering part of the world. What we want is for the background image to repeat itself as we scroll to the right. So let’s adjust our background texture so Godot knows it can be tiled:
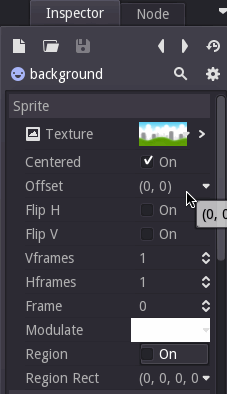
When you check the ‘Region’ property, the background disappears! Don’t worry, we need to fill in the Region Rect property as well. Set the width and height (w and h) to (3072*4, 1536) and now you will see a long repeating texture.
Parallax Scrolling
Finally, let’s add a really cool effect: parallax scrolling. This means we want to have our background scroll at a different speed from the foreground. Specifically, if we have it move slower, it will give the impression that it is much farther away. As you might expect, Godot has a node (actually, 2 nodes) for that.
Switch to the main scene and add a ParallaxBackground node. Drag it to the top of the tree.
This node controls parallax scrolling, but you might want to have more than one layer of scrolling background. For this reason, the ParallaxBackground node needs to contain one or more ParallaxLayer nodes. Add one to the tree, and make the background its child. Your scene tree should now look like this:

The properties of the ParallaxLayer are straightforward:

motion/scale is what we want to change to adjust the movement speed of the background. Change it to (0.5, 0.5) and hit ‘Play’:
Wrapping up
The Camera2D node in Godot is incredibly easy to use. In combination with parallax scrolling, it’s possible to get a very rich visual effect with very little effort.