Conveyor Belt
Problem
You want to make a conveyor belt object that will move bodies (kinematic or rigid).
Solution
You can make a conveyor belt object using nothing but a StaticBody2D by using its constant_linear_velocity property.
See below for how to address this in 3D.
Here’s an example, using a StaticBody2D and a RigidBody2D. No code was added. The static body’s Constant Linear Velocity is set to (200, 0).

Animating the belt
There are many ways to present the appearance of your conveyor belt, depending on your art assets. For this demo project, I have only a TileMap which is using this single 88x88 tile:

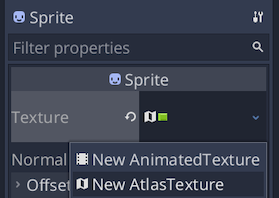
Add a Sprite to your static body, and in its Texture choose “New AtlasTexture”:
Drop the tile texture in its Texture property and set the Region to (0, 0, 880, 88):
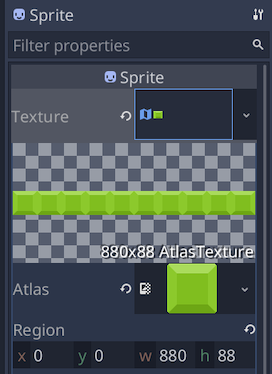
Choosing 880 gives us a conveyor belt that’s exactly 10 tiles wide. You can use any width you need.

If your image doesn’t repeat or looks wrong, reimport it with the Repeat flag set to “Enabled”.
Try adjusting the x of the Region property. You’ll see the tiles shift. This is what we need to animate the belt. You can do this with an AnimationPlayer or in code. We’ll do the latter for this example:
extends StaticBody2D

export var speed = 100

func _ready():
    constant_linear_velocity.x = speed

func _process(delta):
    $Sprite.texture.region.position.x -= speed * delta
This code ensures that our belt moves at the desired speed, and that the animation matches the physics effect. Note that the directions are opposite: increasing the x of the region shifts the image to the left.

This works perfectly well with kinematic bodies, too. Here’s the same conveyor belt object added to our Platform character recipe:
3D
At the time of this writing, constant_linear_velocity does not work in 3D using StaticBody.
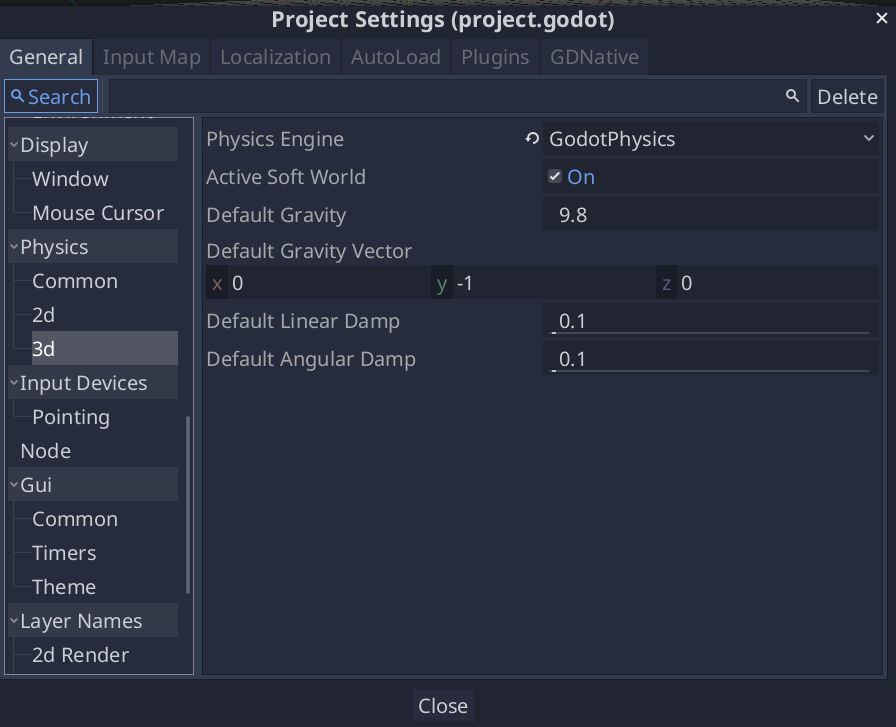
However, you can use this technique if you change from “Bullet” to the “GodotPhysics” engine in your Project Settings: