Grid-based movement
Problem
You need a 2D character that moves in a grid pattern.
Solution
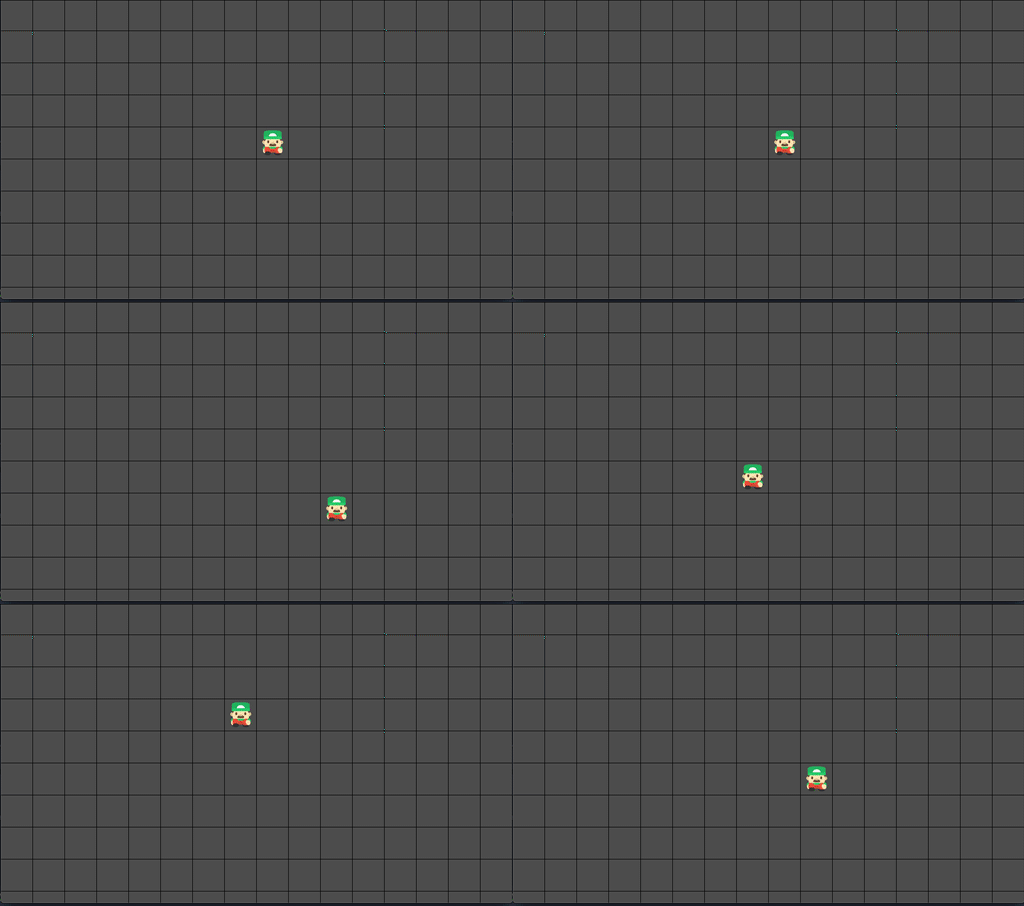
Grid- or tile-based movement means the character’s position is restricted. They can only stand on a particular tile - never between two tiles.
Character setup
Here are the nodes we’ll use for the player:
Area2D(“Player”): Using anArea2Dmeans we can detect overlap (for picking up objects or colliding with enemies).Sprite: You can use a sprite sheet here (we’ll set up the animation below).CollisionShape2D: Don’t make the hitbox too big. Since the player will be standing on the center of a tile, overlaps will be from the center.RayCast2D: For checking if movement is possible in the given direction.Tween: For interpolating movement from tile to tile.AnimationPlayer: For playing the character’s walk animation(s).
Add some input actions to the Input Map. We’ll use “up”, “down”, “left”, and “right” for this example.
Basic movement
We’ll start by setting up the tile-by-tile movement, without any animations or interpolation.
extends Area2D

var tile_size = 64
var inputs = {"right": Vector2.RIGHT,
            "left": Vector2.LEFT,
            "up": Vector2.UP,
            "down": Vector2.DOWN}
tile_size should be set to match the size of your tiles. In a larger project, this can be set by your main scene when instancing the player. We’re using 64x64 tiles in the example below.
The inputs dictionary maps the input action names to direction vectors. Make sure you have the names spelled the same here and in the Input Map (capitalization counts!).
func _ready():
    position = position.snapped(Vector2.ONE * tile_size)
    position += Vector2.ONE * tile_size/2
snapped() allows us to “round” the position to the nearest tile increment, and adding a half-tile amount makes sure the player is centered on the tile.
func _unhandled_input(event):
    for dir in inputs.keys():
        if event.is_action_pressed(dir):
            move(dir)

func move(dir):
    position += inputs[dir] * tile_size
Here’s the actual movement code. When an input event occurs, we check the four directions to see which one matched, then pass it to move() to change the position.
Collision
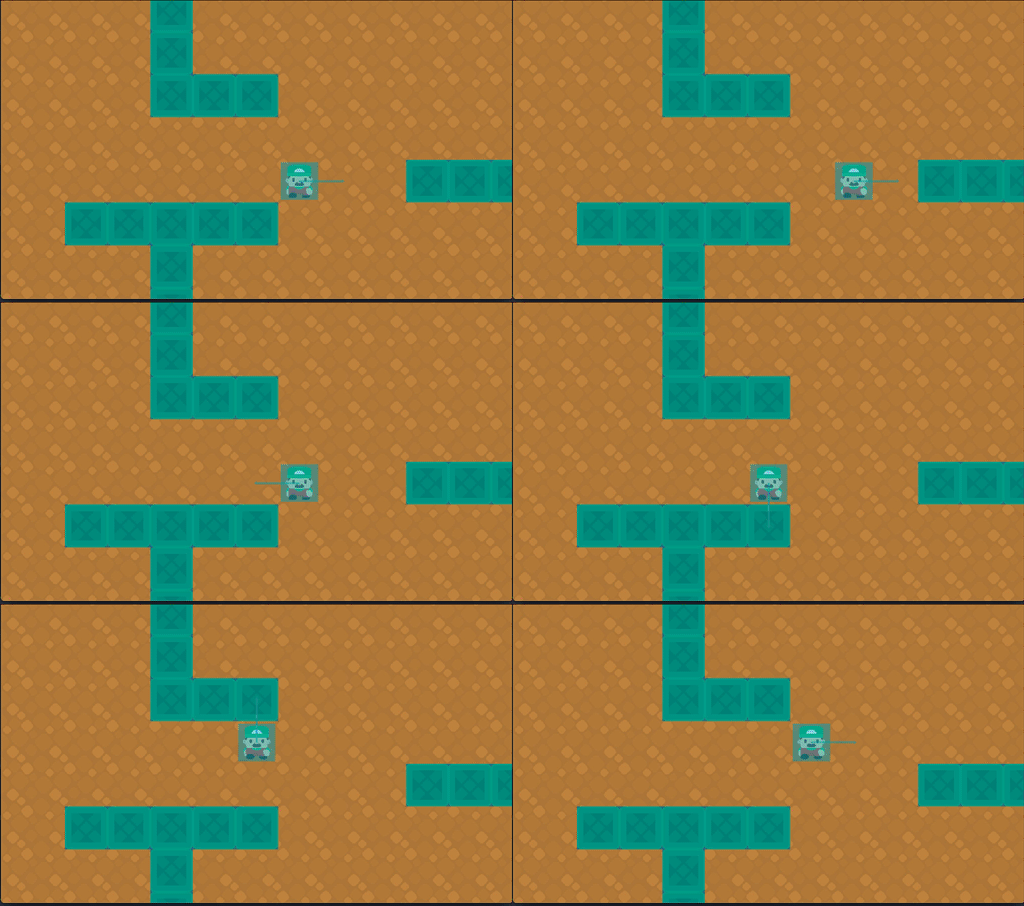
Now we can add some obstacles. You can add StaticBody2Ds to manually add some obstacles (enable snapping to make sure they’re aligned with the grid) or use a TileMap (with collisions defined), as in the example below.
We’ll use the RayCast2D to determine whether a move to the next tile is allowed.
onready var ray = $RayCast2D

func move(dir):
    ray.cast_to = inputs[dir] * tile_size
    ray.force_raycast_update()
    if !ray.is_colliding():
        position += inputs[dir] * tile_size
When changing a raycast’s cast_to property, the physics engine won’t recalculate its collisions until the next physics frame. force_raycast_update() lets you update the ray’s state immediately. If it’s not colliding, then we allow the move.
Another common method is to use 4 separate raycasts, one for each direction.
Animating movement
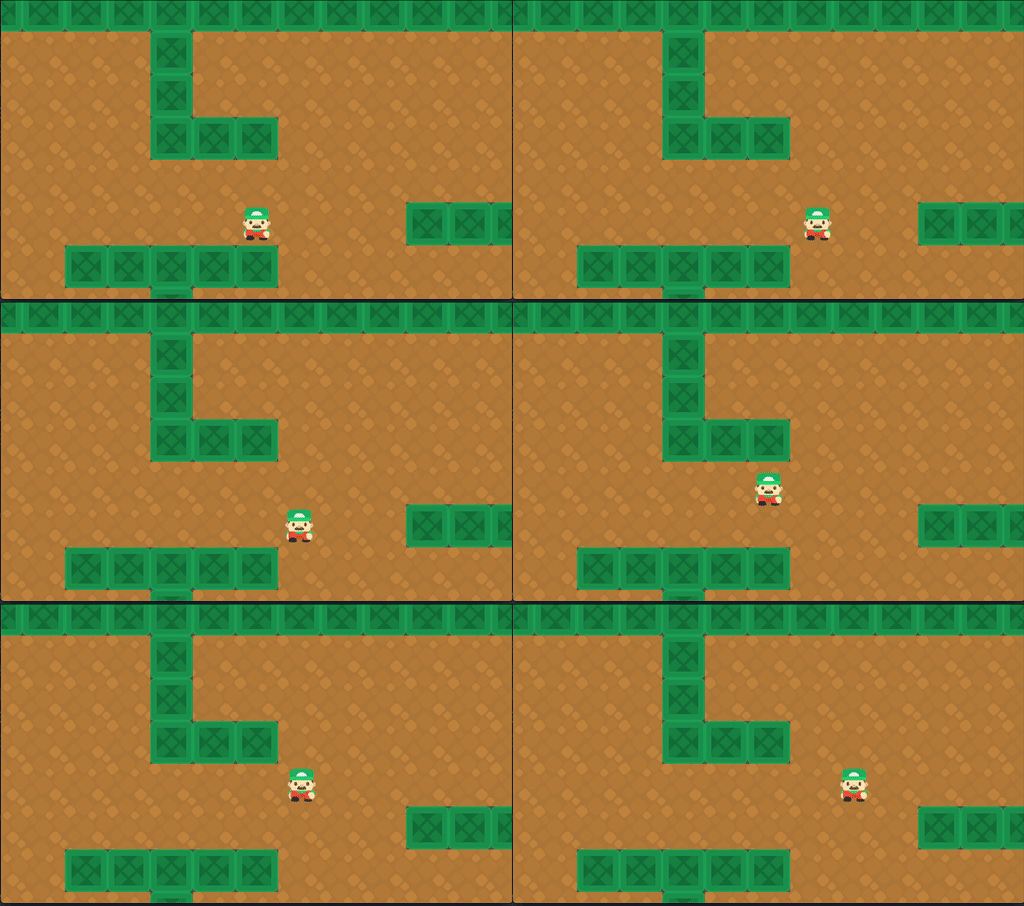
Lastly we can interpolate the position between tiles, giving a smooth feel to the movement. We’ll use the Tween node to animate the position property.
onready var tween = $Tween

export var speed = 3
Add a reference to the Tween node and a variable to set our movement speed.
func _unhandled_input(event):
    if tween.is_active():
        return
    for dir in inputs.keys():
        if event.is_action_pressed(dir):
            move(dir)
We’ll ignore any input while the tween is running.
func move(dir):
    ray.cast_to = dir * tile_size
    ray.force_raycast_update()
    if !ray.is_colliding():
#		position += dir * tile_size
        move_tween(dir)
Remove the direct position change and call a function to activate the tween:
func move_tween(dir):
    tween.interpolate_property(self, "position",
        position, position + dir * tile_size,
        1.0/speed, Tween.TRANS_SINE, Tween.EASE_IN_OUT)
    tween.start()
Experiment with different tween transitions for different movement effects.


