Using Areas
In the last part, we learned about
transforms, a very important concept in 3D that records an object’s local
orientation in space, and used it to move our KinematicBody character. This time,
we’re going to look at another type of 3D node: the Area.
Areas
Area nodes are used for detection and influence. They can detect when
objects overlap, and when an object enters or exits a region. An Area can
also be used to override physics properties, such as gravity or damping, in
a region.
We’re going to use Area to create three types of objects:
- A coin the character can pick up
- A bullet the character can shoot
- Spikes that damage the character
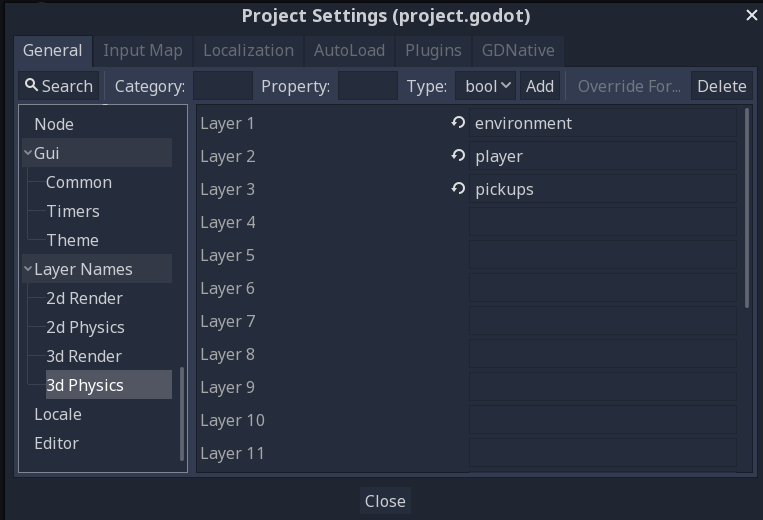
To begin, let’s set up some collision layers so that we can more easily control what objects the areas can interact with. Open the Project Settings and find the “Layer Names/3D Physics” section. Name the first three layers “environment”, “player”, and “pickups”.
Coin
Create a new inherited scene from the CoinGold.glb object in the Kenney Platformer
Kit (see Part 03). Right-click on the root
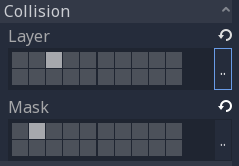
node, choose “Change Type”, and pick Area. In the Inspector, set the collision
mask and layer so that the coin is in “pickups” and scans “player”.
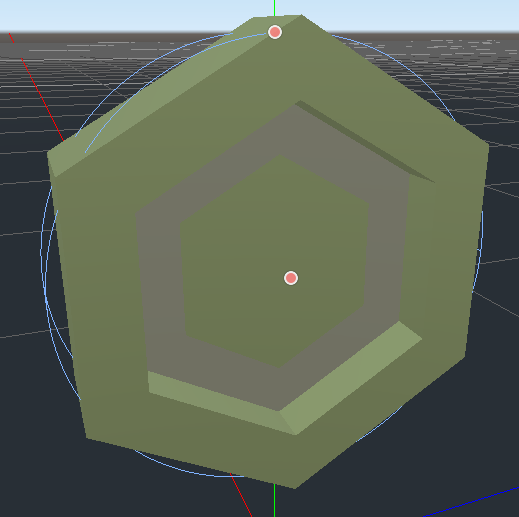
Now we need a collision shape, so add a CollisionShape node and choose a
CylinderShape for it. If you rotate it 90 degrees around z, it will fit
the coin shape pretty well.
Add a script to the Area and connect its body_entered signal, which we’ll use
to remove the coin:
extends Area
func _on_Coin_body_entered(body):
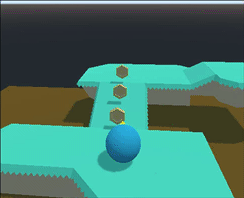
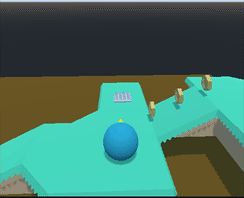
queue_free()Add a few coins to your scene and see if you can pick them up:
Bullets
Make a new scene with an Area root, and name it “Bullet”. Add a MeshInstance,
a CollisionShape, and a Timer. I’m using a sphere shape for the mesh and
collision, scaled to a radius of 0.2 so that it won’t be too big compared
with the character. The Timer is to give the bullet a time limit. Set its
One Shot and Autostart properties both on.
Add a script and connect the Timer’s timeout signal and the Area’s
body_entered signal. Then add the following:
extends Area

var speed = 15
var velocity = Vector3()

func start(xform):
    transform = xform
    velocity = -transform.basis.z * speed

func _process(delta):
    transform.origin += velocity * delta

func _on_Timer_timeout():
    queue_free()

func _on_Bullet_body_entered(body):
    if body is StaticBody:
        queue_free()
Since we want the bullet to start at a certain location and travel directly
ahead of the player, we’ll pass the player’s transform to start() and use it
to orient the bullet and make it move forward (remember in Godot’s orientation,
“forward” is along the negative z axis).
Now we can go to the character scene and add a Position3D node, placing it
at the tip of the character’s “arrow” mesh. Name this node “Muzzle”. Next, add
the following code to the character’s script:
var Bullet = preload("res://Bullet.tscn")

func _unhandled_input(event):
    if event.is_action_pressed("shoot"):
        var b = Bullet.instance()
        b.start($Muzzle.global_transform)
        get_parent().add_child(b)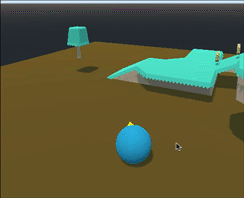
Spikes
Finally, we’re going to add some danger to the environment. Make in instance
of the spikes.glb object and make it an Area like we did with the coin.
Add a script and connect the body_entered signal, but this time, we want
the object to do something to the character:
extends Area

func _on_Spikes_body_entered(body):
    if body.has_method("take_damage"):
        body.take_damage()
Now we need to define how the character reacts to taking “damage”. Since we haven’t really built a health system, we’re just going to “bounce” the character as if it got hurt. We need to add the following to the character script:
var can_move = true

func take_damage():
    velocity *= -1
    velocity.y = jump_speed
    can_move = false
    yield(get_tree().create_timer(1), "timeout")
    can_move = true
The purpose of this code is to disable input temporarily so the player will
fly backwards from the spikes. If we just tried to set the velocity, it would
immediately be overridden by the velocity set by the key inputs. So add this at
the beginning of get_input():
    if !can_move:
        return
Add a spike instance to your level and try it out:
Wrapping Up
In this tutorial you learned how to use Area nodes to detect and react to 3D bodies.
In the next part: a collection of small improvements.
You can also find a video version of this lesson here: