Using CSG
Earlier, we saw how to design a 3D environment using imported models. But what if you want to make something like a room, with walls, doors, ramps, and other features, but you don’t have any models handy? CSG to the rescue!
What is CSG?
CSG stands for Constructive Solid Geometry. It allows you to combine primitive shapes to build complex geometry. Shapes can be combined with boolean operations such as Union, Intersection, and Subtraction.
CSG is a great tool for prototyping environments and game objects. Later in this tutorial, we’ll use it to make a small FPS-style level with some ramps, walls and platforms.
Before we do that, let’s get introduced to how the CSG nodes work.
CSG Basics
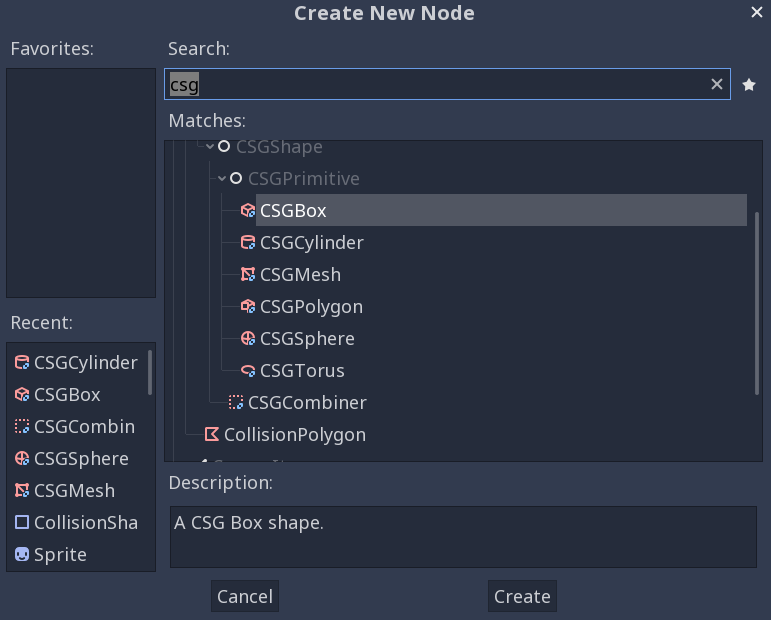
Create a new scene with a Spatial root, then add a child node and type “CSG”
in the search box.
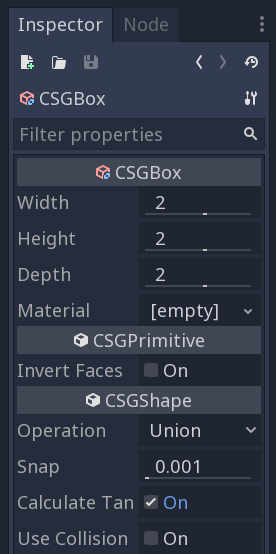
These are the available CSG shapes. Choose a CSGBox to start. You’ll see a
plain cube mesh with the following properties:
The Operation property is the one that determines how CSG shapes will be combined. The options are:
- Union - The shapes will be merged, removing any “inside” geometry.
- Intersection - Only the intersecting (overlapping) geometry will be kept.
- Subtraction - The second shape is “cut out” of the first.
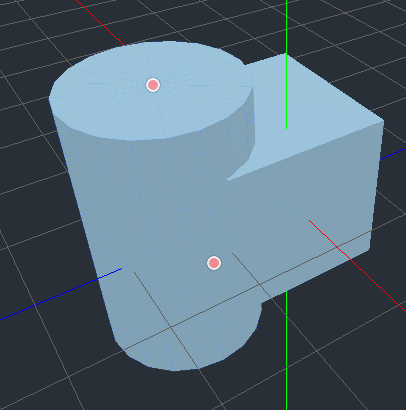
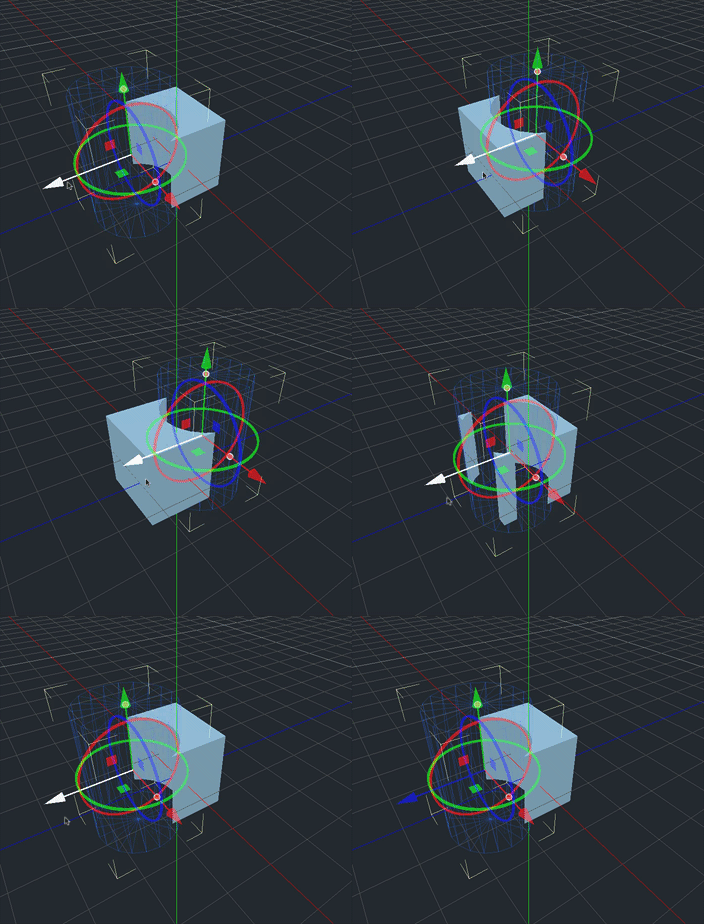
CSG operations are performed on a shape by adding children. Add a child CSGCylinder to the CSGBox. Drag the top size handle (orange dot) to make it a bit taller. You can also increase the Sides property to make it look more circular (here it’s set to 20):
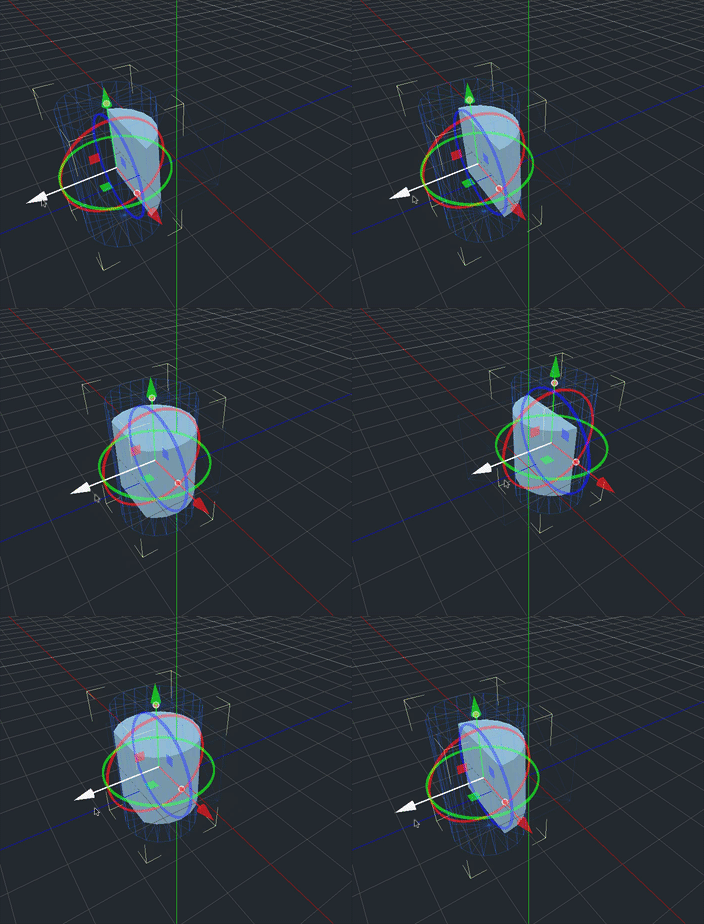
By default, the shape’s operation is set to “Union”. The cylinder shape is being “added” to the cube. Try changing it to “Intersection”:
And “Subtraction”:
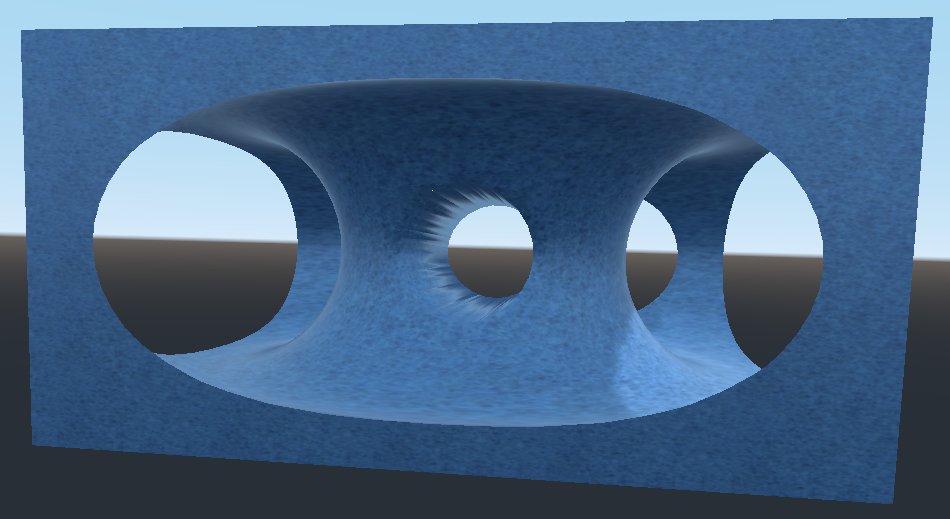
Hopefully you’re already seeing the possibilities of creating complex shapes through these 3 operations.
CSGCombiner
This node is an “empty” shape. It’s used to organize your shapes. Children of
a CSGCombiner will be combined following the same rules as above.
Building a Room
Now we’re going to make something useful: a large room with some obstacles and
features that our character can interact with, and that we can use in the upcoming tutorials. Make a new scene with a Spatial root that we can start working with.
Start with a CSGBox, and set its Width and Depth to 20 and its Height
to 5. We need this to be a box that we go inside, so click the Invert Faces
property as well. This reverses the shape so that the solid walls are on the
inside rather than the outside. Also check the Use Collision property, so that
the physics engine will treat this shape as a static body object.
Add an instance of the player character and test that you can walk around in your new room.
You may remember that in the last part we added code to capture/release the mouse. You’ll need to copy that code over to this scene as well.
Adding features
Now let’s add some features - some internal walls, a ledge running around the edge with a ramp, and so on. Feel free to get creative and add your own ideas. Here are a few to get started:
If you use a CSGCombiner for each of these objects it will be easier to
organize and duplicate them. Make sure to enable Use Collision on it.
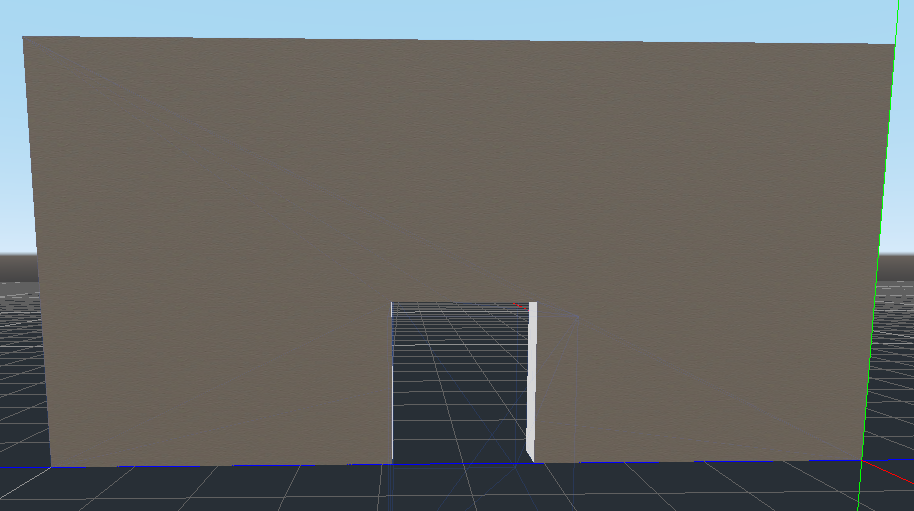
- Wall with door
Add a CSGBox and set its Width to 0.5 and its Height to 5 (the same
height as the original room). Make the depth about half the size of the room.
You can enable snapping here to make it easier to align.
Add another CSGBox as a child and set it to “Subtract”. Size it to resemble
a door. You can also use a cylinder shape to get an arched portal.
- Ramp
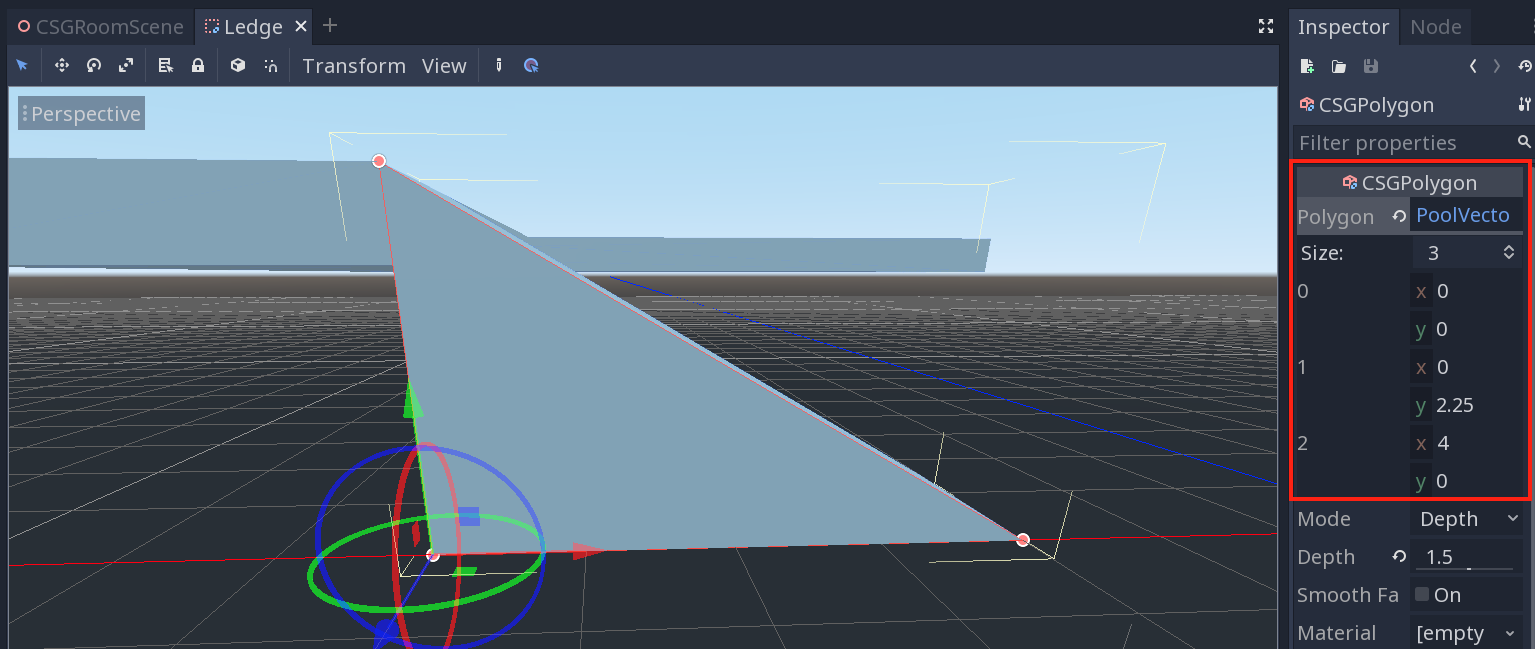
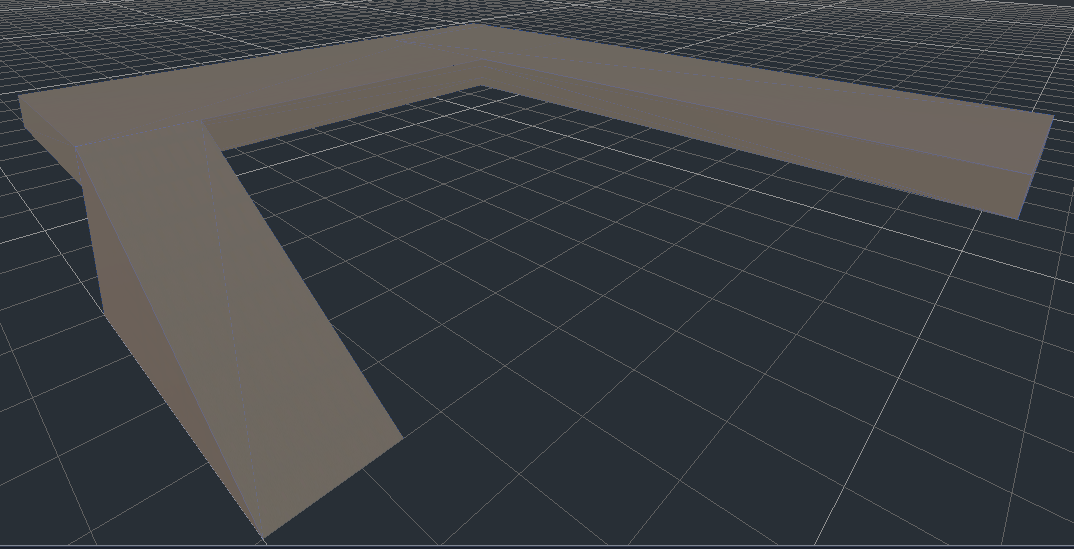
For the ramp, we’ll use a CSGPolygon. This CSG shape lets you extrude a given
polygon to a desired depth. The default shape is a square, but you can add or
remove points. For a ramp, we want 3 points.
After adding the CSGPolygon, you can click the Polygon property to adjust
its number of points. After that, you can drag the three points to whatever
location you like. To ensure everything lines up, you can type the coordinates into the Inspector:
In this picture, we’ve created a ramp and added a couple of CSGBox shapes to
make the ledge.
Putting it together
Make sure to add a Material to your shapes, choosing an Albedo color that
seems pleasant to you. In the following examples, we’ve picked a tan color.
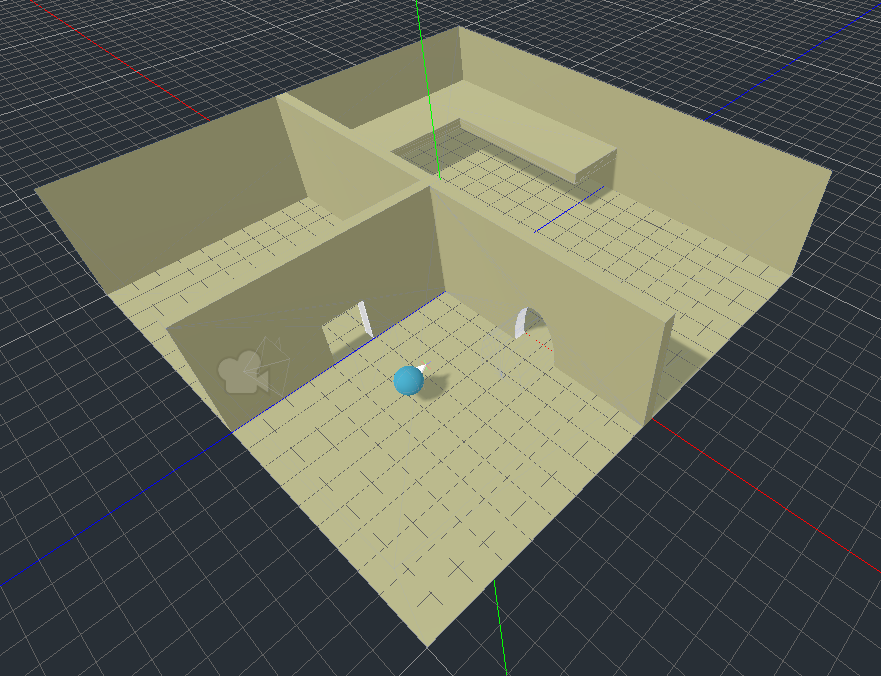
Here’s an example of a possible room setup:
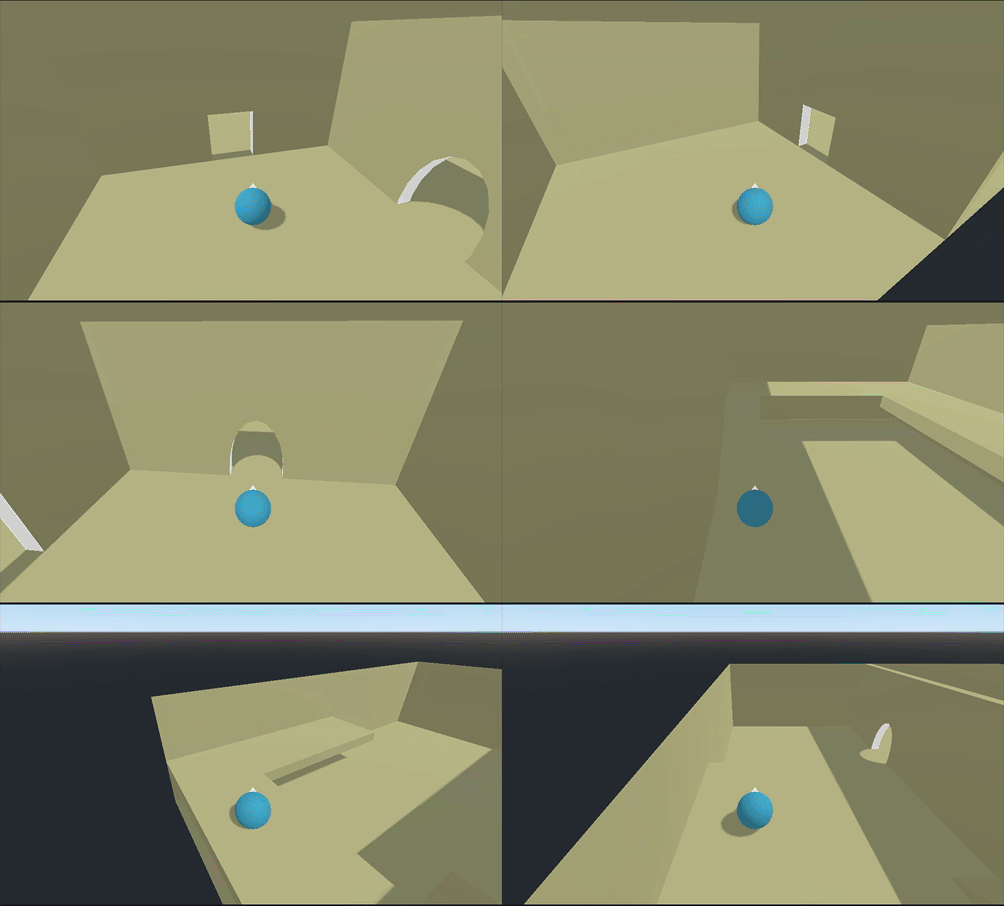
Hit play and you should be able to walk around the rooms:
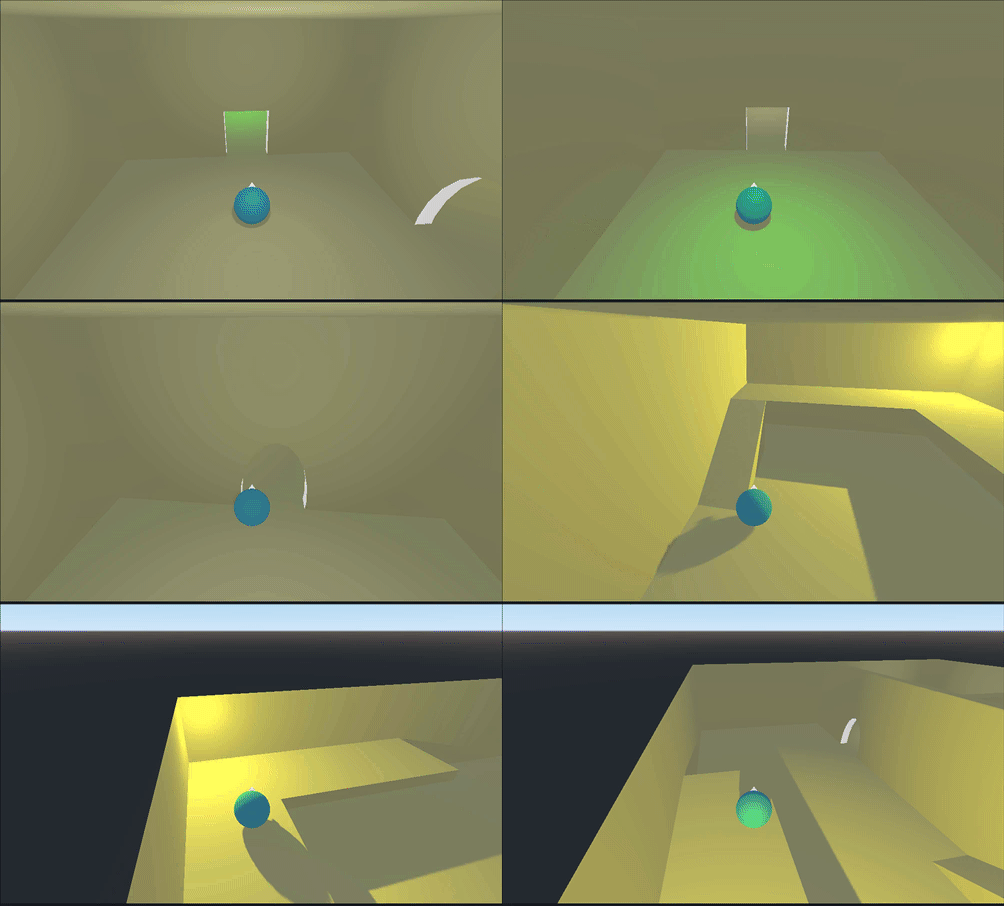
The area is featureless right now, but to make things more visually
interesting, you can add individual lights in each room (more about lighting
in a later tutorial). Here’s an example of adding some OmniLight and SpotLight nodes to the scene:
Wrapping Up
CSG is a powerful tool for building objects directly in Godot without having to move to another modeling application such as Blender. It can be helpful if you need to mock up a test level for your game, or for the final environment. Keep in mind that as the CSG tree becomes more complex, it can incur a performance penalty. Try to use CSGCombiner to separate your scene into separate CSG trees to minimize this.
In the next part, we’ll look at a popular style of 3D game: first person.
You can also find a video version of this lesson here:
