Godot's Editor: Finding your way around
Project Manager
The Project Manager is the first thing you’ll see when opening Godot.
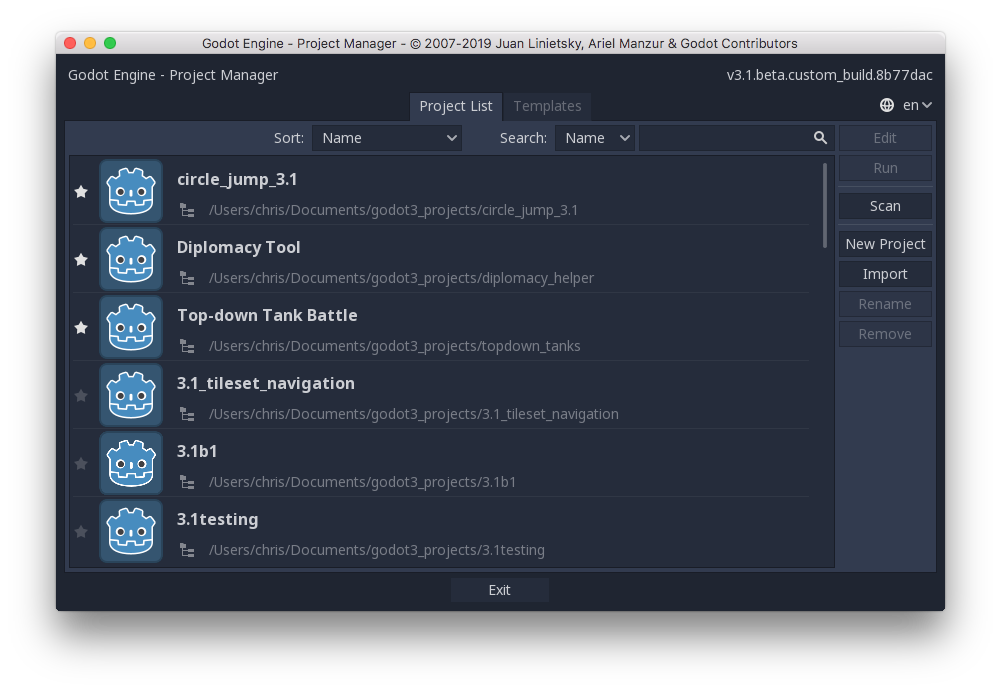
In this window you can see a list of your Godot projects. You can choose an existing project and click “Run” to play the game or click “Edit” to work on it in the Godot editor. Since you probably don’t have any projects yet, let’s start by clicking the “New Project” button.
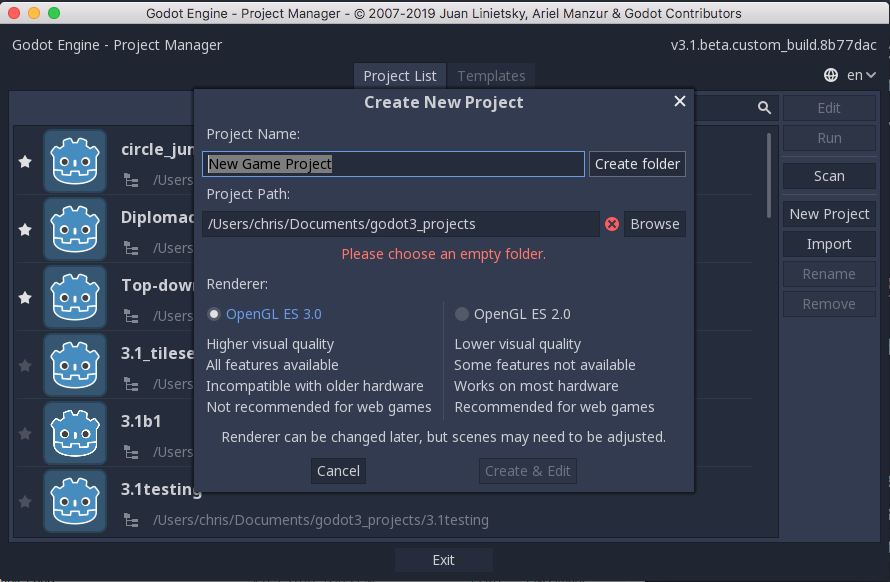
Here you can give the project a name and create a folder to store it in.
Every Godot project is contained in its own folder. This has many benefits, including making it easy to move, share, and backup projects. It also means that all the project’s files (images, sounds, etc.) must be in the project folder.
When you’re naming your project, try to choose a name that describes the project. “New Game Project #23” is not going to help you remember what that project was. You should also think about compatibility: some operating systems are case-sensitive, and some are not. This can lead to problems if you move or share your project from one computer to another. For this reason, many programmers develop a standardized naming scheme. For example: “No spaces, use ‘_’ between words.”
Let’s name this new project “getting_started”. Type this name, click “Create Folder”, and then click “Create & Edit”.
You’re now looking at the Godot editor window. This is where you’ll spend most of your time when working in Godot. The editor is divided into sections.
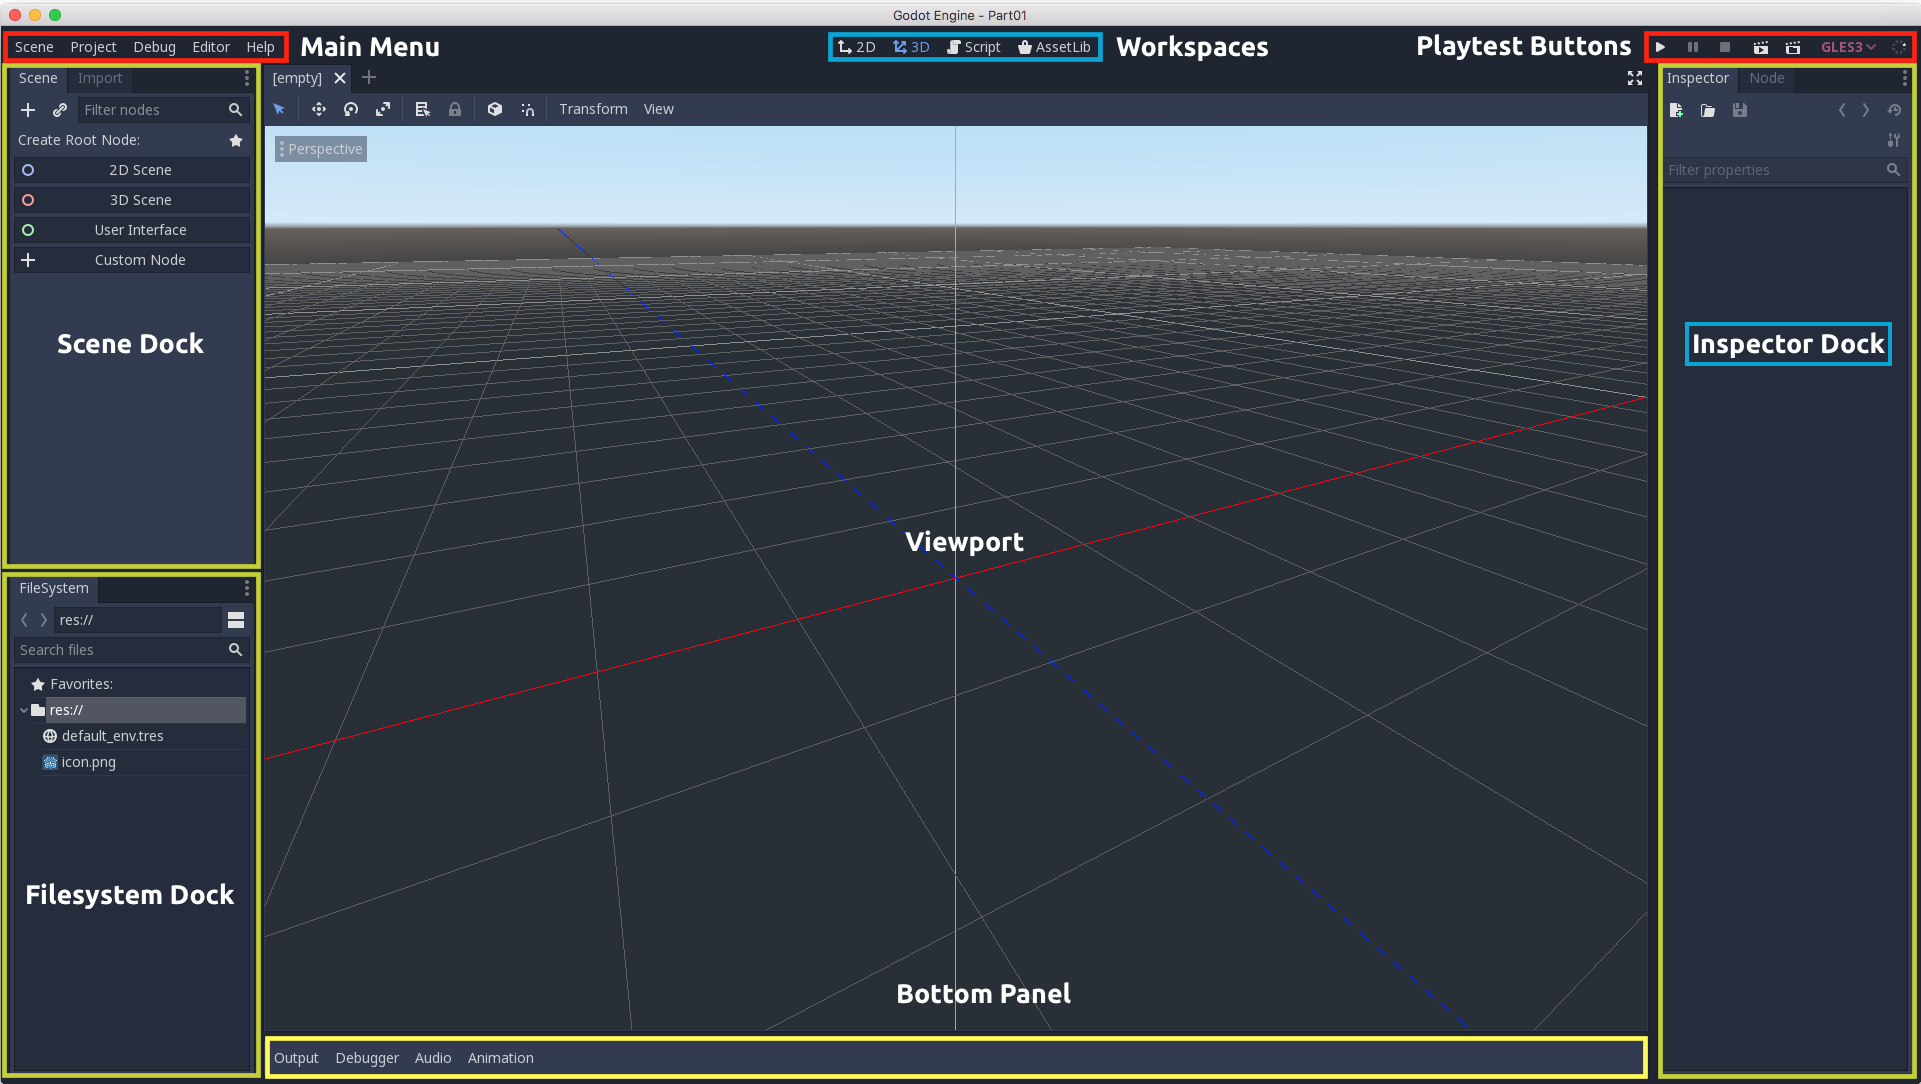
- Viewport: This is where you’ll see the parts of your game as you’re working on them.
- Main Menu: Here you can save and load files, edit project settings, and search for help.
- Workspaces: At the center-top, you can switch between working in the 2D, 3D, or Script workspaces. You start in 3D.
- Playtest Buttons: These buttons let you launch and control your game when testing.
- Docks: On both sides are a number of docks where you can view game items and set their properties.
Project Settings
Now we’ve talked about the main parts of the Godot window and how they work, let’s spend a little time talking about our Project settings. Usually one of the first tasks when starting a new project is make sure it’s all set up correctly.
So let’s click on “Project” in the menu and select “Project Settings”.
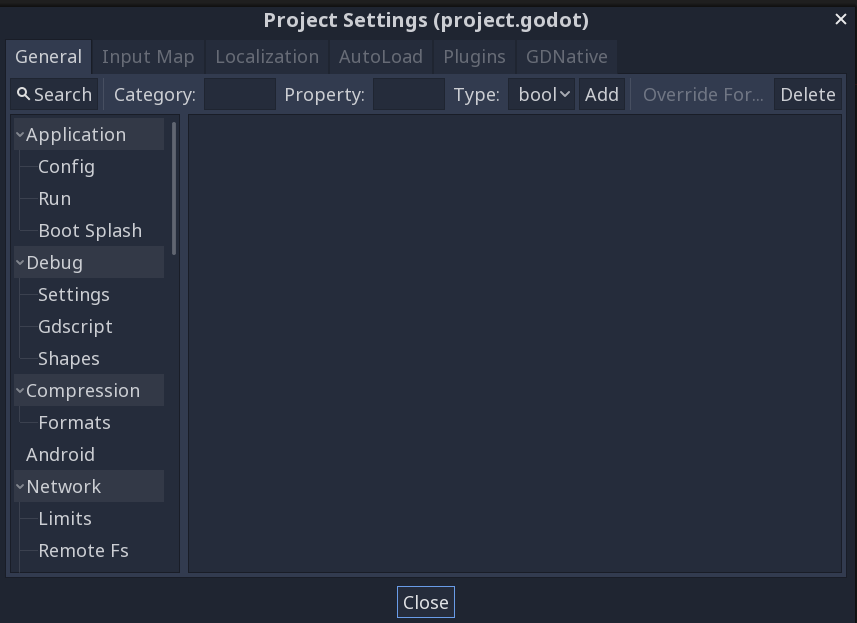
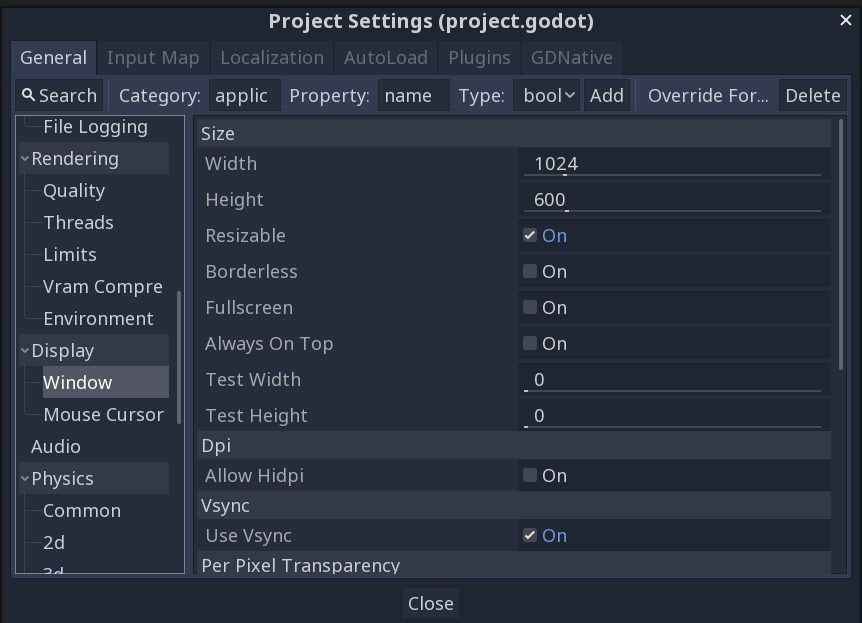
This is the Project settings window. On the left is a list of categories. For most projects, the default settings will be fine, and you shouldn’t worry about changing them unless you have a very specific need. For now, we’re just going to look at two of the sections. First, “Application/Config”.
In here, you can set your game’s title, choose which scene is the “main scene” (more about that in a bit), and change the icon.
Second, let’s look at the “Display” section. This is where you set up your game’s display. width & height let you set the size of the game window. If, for example, you were making a mobile game, you’d want to set this to the resolution and proportions of your target device. There are also settings for scaling, stretching, fullscreen mode, and more. For now, we’ll leave the default size - later on we’ll talk about how to adjust these to get our game running on different devices.
There are also some tabs across the top. We’ve been looking at the “General” tab. I’ll also point out briefly, the “Input Map”. This is where you can define different input actions for keyboard control, gamepad, mouse, and so on. In your game, you’ll just worry about the action, not what individual key or button was pressed. This is a very powerful and flexible way of handling player input.
We also have localization options, if you plan to support multiple languages. Autoloading, which we’ll get to later, and plugins. The Godot community has created a variety of useful plugins that you can download and add to supply more features, different tools, and so on.
We’ll come back to the project settings window later. Let’s close it for now and we’re ready to move on to the next step: working with nodes.