Project Setup
This first game project will guide you through making your first Godot Engine game. While you don’t need any previous experience, it’s expected that you’ve at least read through the Godot 101: Getting Started section. There, you’ll learn about the editor interface and how to get around the Godot UI.
In a nutshell, 3D games are much more complex than 2D ones. However, many of the underlying game engine features you’ll need to know are the same. You should stick to 2D until you have a good understanding of Godot’s workflow. At that point, the jump to 3D will feel much easier.
Open Godot and start a new project. You can name it anything you’d like - we’re going with “Classic Shmup”, since this is a traditional shoot-em-up style game.
Downloading the art
You can download the art we’ll be using for the game from itch.io: Mini Pixel Pack by Grafxkid
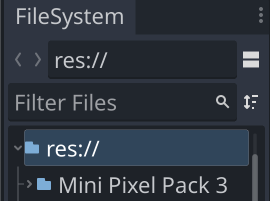
Unzip the art pack and copy it into your project by dropping the folder in the FileSystem tab.
Project settings
Next, we need to set up some project-wide settings. Open Project Settings and check the “Advanced Settings” toggle in the upper-right.
In the Display/Window section:
- Viewport Width & Viewport Height to
240,320. - Window Width Override & Window Height Override to
480,640. - Stretch/Mode to
canvas_items.
- Viewport Width & Viewport Height to
These settings will ensure the game is the right size. Because we’re using pixel art, the images themselves are very small, so an old-school resolution like 240x320 is perfect. However, on a modern monitor, that’s a fairly small window, so the other settings let us scale that up proportionally. If you have a 1080p monitor, you can make the override values 720x960 instead. You’ll also be able to resize the window when the game is running.
- In the Rendering/Textures section under Canvas Textures, set Default Texture Filter to
Nearest. This will ensure that our beautiful pixel art stays nice and crisp, looking like the image on the right, not the one on the left:

- Click the Input Map tab at the top of the Project Settings window. This is where we can set up the inputs we want to use in the game. In the “Add New Action” box, type the following, hitting
<enter>after each to add it to the list of actions:right,left,up,down,shoot. To assign key(s) to each named input, click the + button to its right and press the key on your keyboard. When you’re done, you should have something like this:
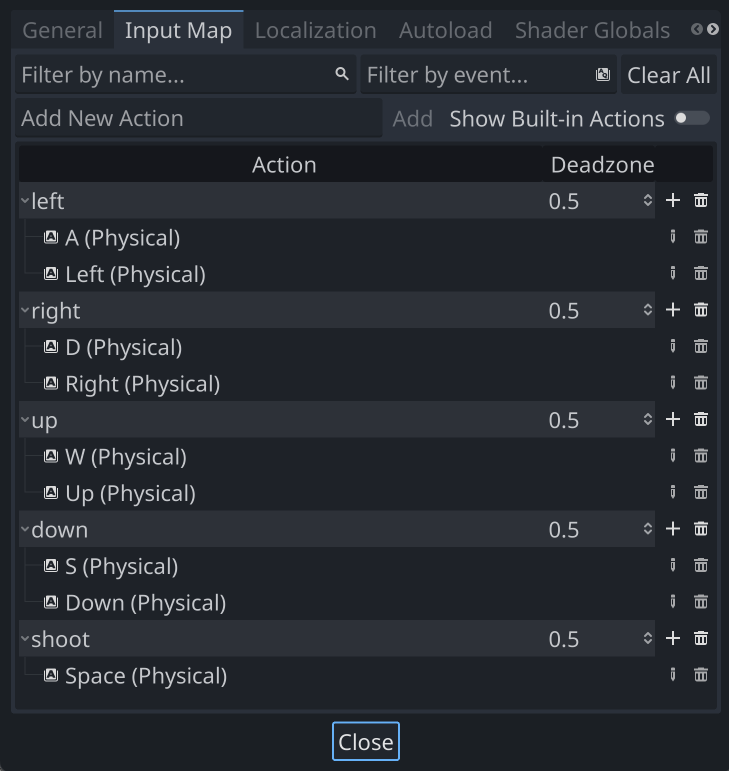
Feel free to use other keys if you’d rather use a different setup.
Next steps
That takes care of setting up - now we’re ready to get started! In the next section, we’ll create the player-controlled spaceship.
| Prev | Next |
|---|