Designing the Player Scene
In the last section, we configured the project and downloaded the game art. Now we’re ready to start coding - starting with the player-controlled ship.
Setting up the Ship Scene
A common part of the Godot workflow is creating scenes. As discussed earlier, a scene in Godot is nothing more than a collection of nodes. In most Godot projects, each game object is configured as a scene, with nodes that provide it with the desired functionality, and optionally some code to customize its behavior.
Choosing nodes
The first step is to decide what kind of node to start with. The first node you add to the scene is called the root node. A scene’s root node should generally be the one that primarily defines the game object’s behavior. Then you attach child nodes to add additional functionality.
So what should our game’s ship be? Let’s break down the requirements, and look at what nodes might be useful to meet them.
The ship needs to:
Move in 2D space. For this, a basic
Node2Dwould suffice, as that’s the node that hasposition,rotation, and other 2D-related properties. However, it has no appearance.Display an image.
Sprite2Dis the node for this. Since it’s also aNode2D, we’d still be able to move it around.Detect getting hit. The enemies will be shooting and flying around on the screen, so we’ll need to know when the ship is hit. We don’t have a need for solid objects - they’re not going to bounce off each other or transfer momentum - we just need to know when they touch. For this, an
Area2Dwould be perfect. It can detect touching other objects, has positional properties, but it has no appearance of its own.
Looking at this list, the Area2D provides the main functionality. We can attach a Sprite2D to display the ship image, and then we’ll have everything we need.
Building the scene
In the Scene tab, click the + button or the + Other Node button to add the first node. Start typing Area2D and choose it from the list. Once it’s in the Scene tab, click the node’s name to rename it to Player, and press <Ctrl+S> to save the scene.
Displaying the ship
With the Player node selected, add another node: a Sprite2D. To keep things organized, let’s rename this node to Ship.
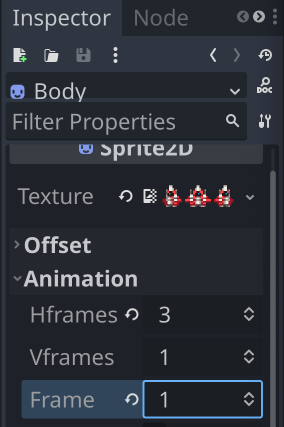
From the FileSystem tab, drag the Player_ship (16x16).png file from the art pack and drop it in the Texture property of the Inspector.

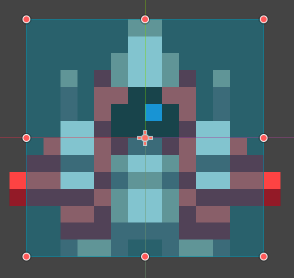
The first thing you’ll notice is that there seem to be three ships! The image from the art pack also includes versions of the ship going to the left/right. We can use this - in the Animation section of the Inspector, set Hframes to 3. Now, changing the Frame property will move between the three different versions. Leave it at 1 for now.
Adding a collision shape
You may also have noticed the yellow warning triangle on the Area2D node. If you click it, you’ll see the warning is telling us that the area doesn’t have a shape. We need to define its shape, and we can do that by adding a CollisionShape2D node as a child of the Player.
In the Inspector for this node, you’ll see a Shape property that currently shows <empty>. If you click in this box, you’ll see a dropdown that allows you to select from a variety of shapes. Choose New RectangleShape2D and you’ll see a light blue square appear over the ship. You can adjust the size of the shape by dragging the orange circles, or you can click on the shape in the Shape property to expand it and fill in the Size manually.
Exhaust
The ship will look much more dynamic with a little animation. Included in the art pack are some animations of exhaust flames named “Boosters”. There are three: one for each version of the ship (left, forward, and right).
To display these, select the Ship node and add a child AnimatedSprite2D node and name it “Boosters”.
In the Inspector, under the Animation section, you’ll find a property called Sprite Frames, which is currently <empty>. Click it to create a New SpriteFrames, then click the SpriteFrames item to open the animation panel at the bottom of the editor window.
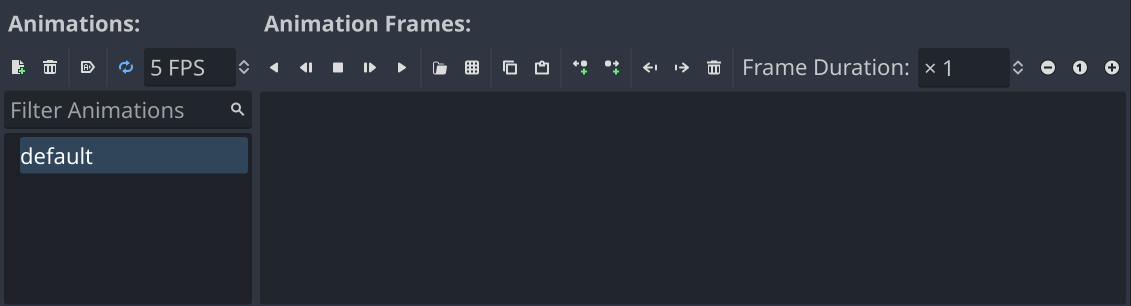
Double-click the “default” animation to rename it to “forward”. Then, to add the animation images, click the Add frames from sprite sheet button:
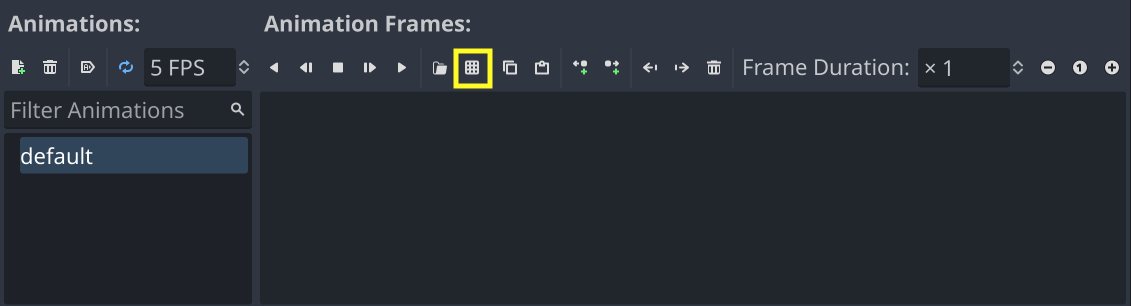
Choose the Boosters (16 x 16).png image and you’ll see the Select Frames window, allowing you to choose the frames you want.
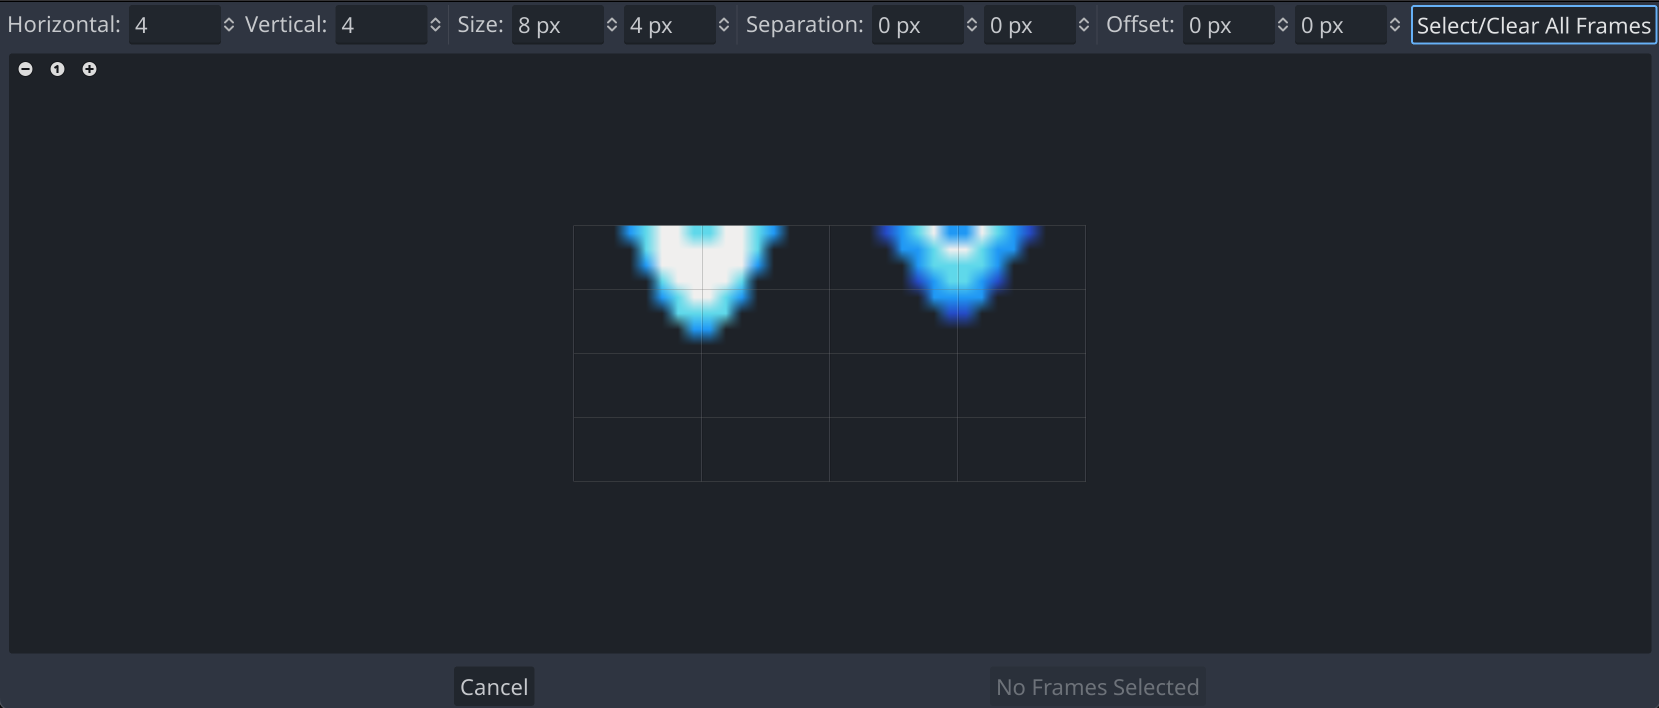
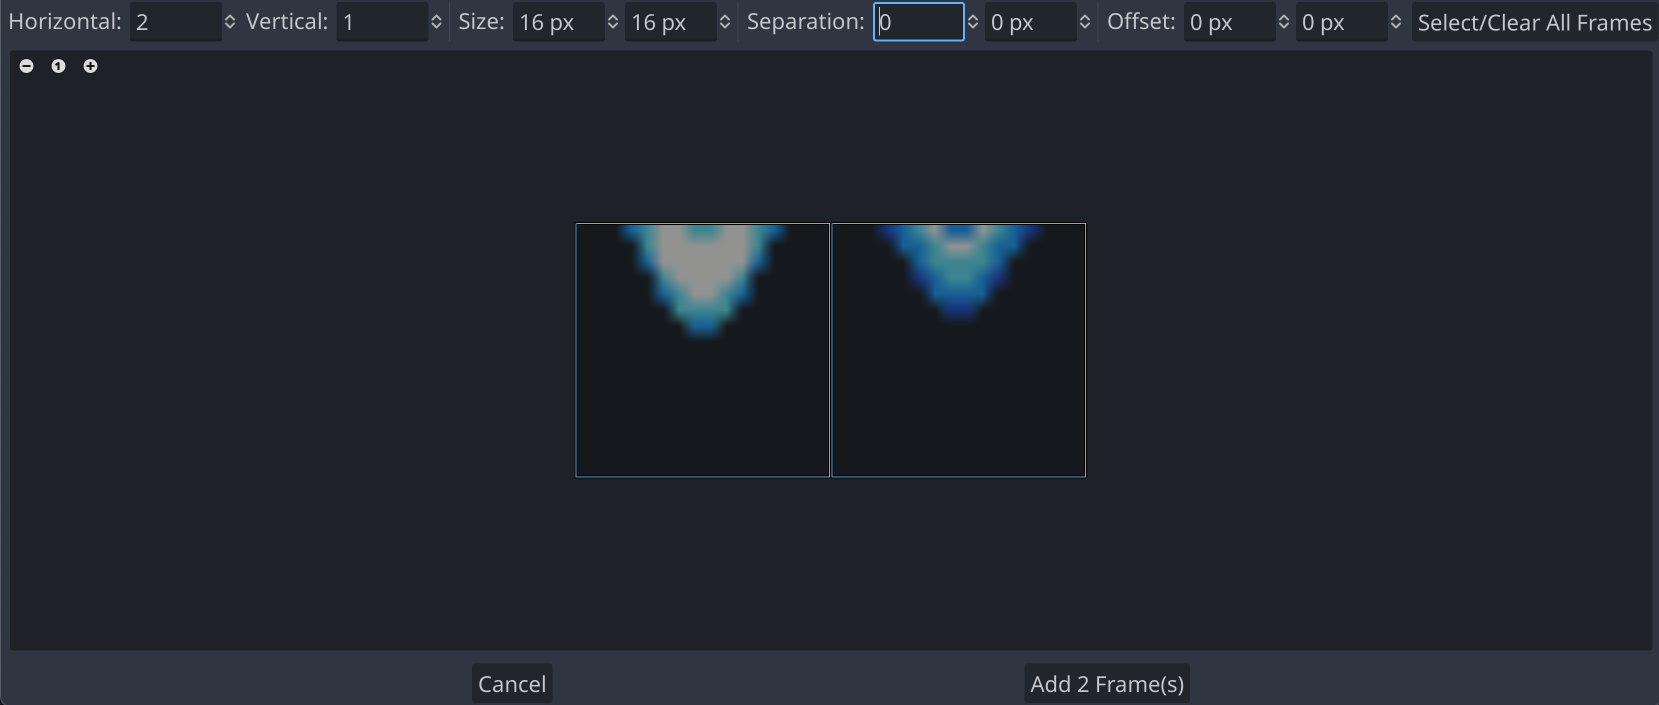
There are only two frames in this animation, but the grid isn’t correct. Change the Size values to match the image sizes: 16 x 16. Then, click both frames to select them and click the Add 2 Frame(s) button.
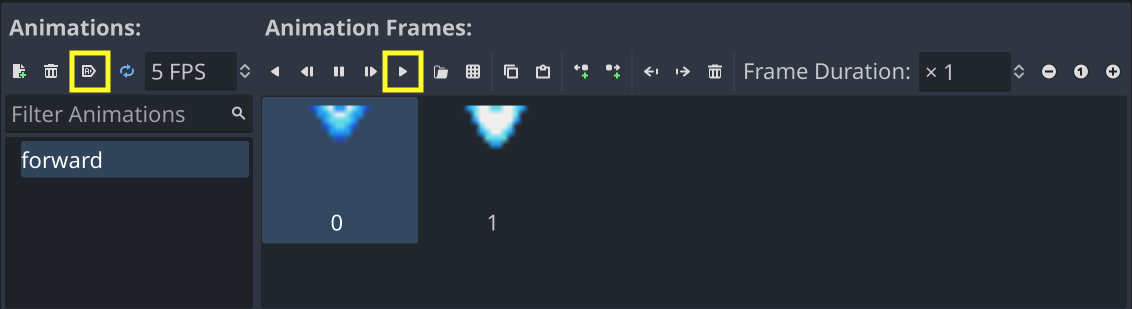
Now that you’ve added the two frames, press the Play button to run the animation. You can also toggle the Autoplay on Load button so that the animation will start automatically.
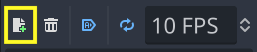
It’s a little slow, so change the speed to 10 FPS.
Add two more animations by clicking the Add Animation button, naming them left and right.
Repeat the process, adding the left and right “Booster” sprite sheets.
Gun cooldown
The last node we’ll need to complete the player setup is a Timer to control how fast the player can shoot. Add the Timer as a child of Player and name it GunCooldown. Set its One Shot property to “On”. This means that when the timer ends, it won’t automatically restart. In the player’s code, we’ll start the timer when the player shoots, and they won’t be able to shoot again until the timer runs out.
Next steps
That completes the player scene setup. We’ve added the nodes to give the player ship the functionality it will need in the game. In the next section, we’ll add some code to enable the player to control the ship, make it shoot, and detect when it collides with things.
| Prev | Next |
|---|