Pygame Shmup Part 4: Adding Graphics
Sun, Aug 21, 2016This is part 4 of our “Shmup” project. If you haven’t already read through the previous parts, please start with Part 1. In this lesson we’ll discuss how to use pre-drawn graphics in our game.
About this series
In this series of lessons we’ll build a complete game using Python and Pygame. It’s intended for beginning programmers who already understand the basics of Python and are looking to deepen their Python understanding and learn the fundamentals of programming games.
You can watch a video version of this lesson here:
Choosing Graphics
In our Intro lesson about sprites, we talked about Opengameart.org, a great source of free game art, and one of our favorite artists there, Kenney. Kenney has made the perfect art pack for our game, the “Space Shooter Pack”, which you can find here:
http://opengameart.org/content/space-shooter-redux
It has lots of really great-looking images, including spaceships, lasers, asteroids, and more.
When you download the pack, it will unzip into a bunch of different folders. What we want is the PNG folder, which has all the individual images. We’re going choose three images for our three sprites, as well as a “starfield” image I’ve included to use for our game background.
These images need to be copied to a place where our game can find them. The easiest way to do this is to make a new folder in the same location where your game code is. We’ve named our folder “img”.
Loading images
As we discussed in the Introduction to Sprites lesson, in order to make sure our code will work on any operating system, we need to use the os.path function to take care of figuring out the correct location and path for our files. At the top of our program we’ll define where our img folder is:
from os import path

img_dir = path.join(path.dirname(__file__), 'img')
Drawing the background
Now, we can start by loading the background image. We’ll do all our asset loading before our existing game loop and initialization code:
# Load all game graphics
background = pygame.image.load(path.join(img_dir, 'starfield.png')).convert()
background_rect = background.get_rect()
Now we can draw our background in the draw section of our game loop before we draw any of the sprites:
# Draw / render
screen.fill(BLACK)
screen.blit(background, background_rect)
all_sprites.draw(screen)
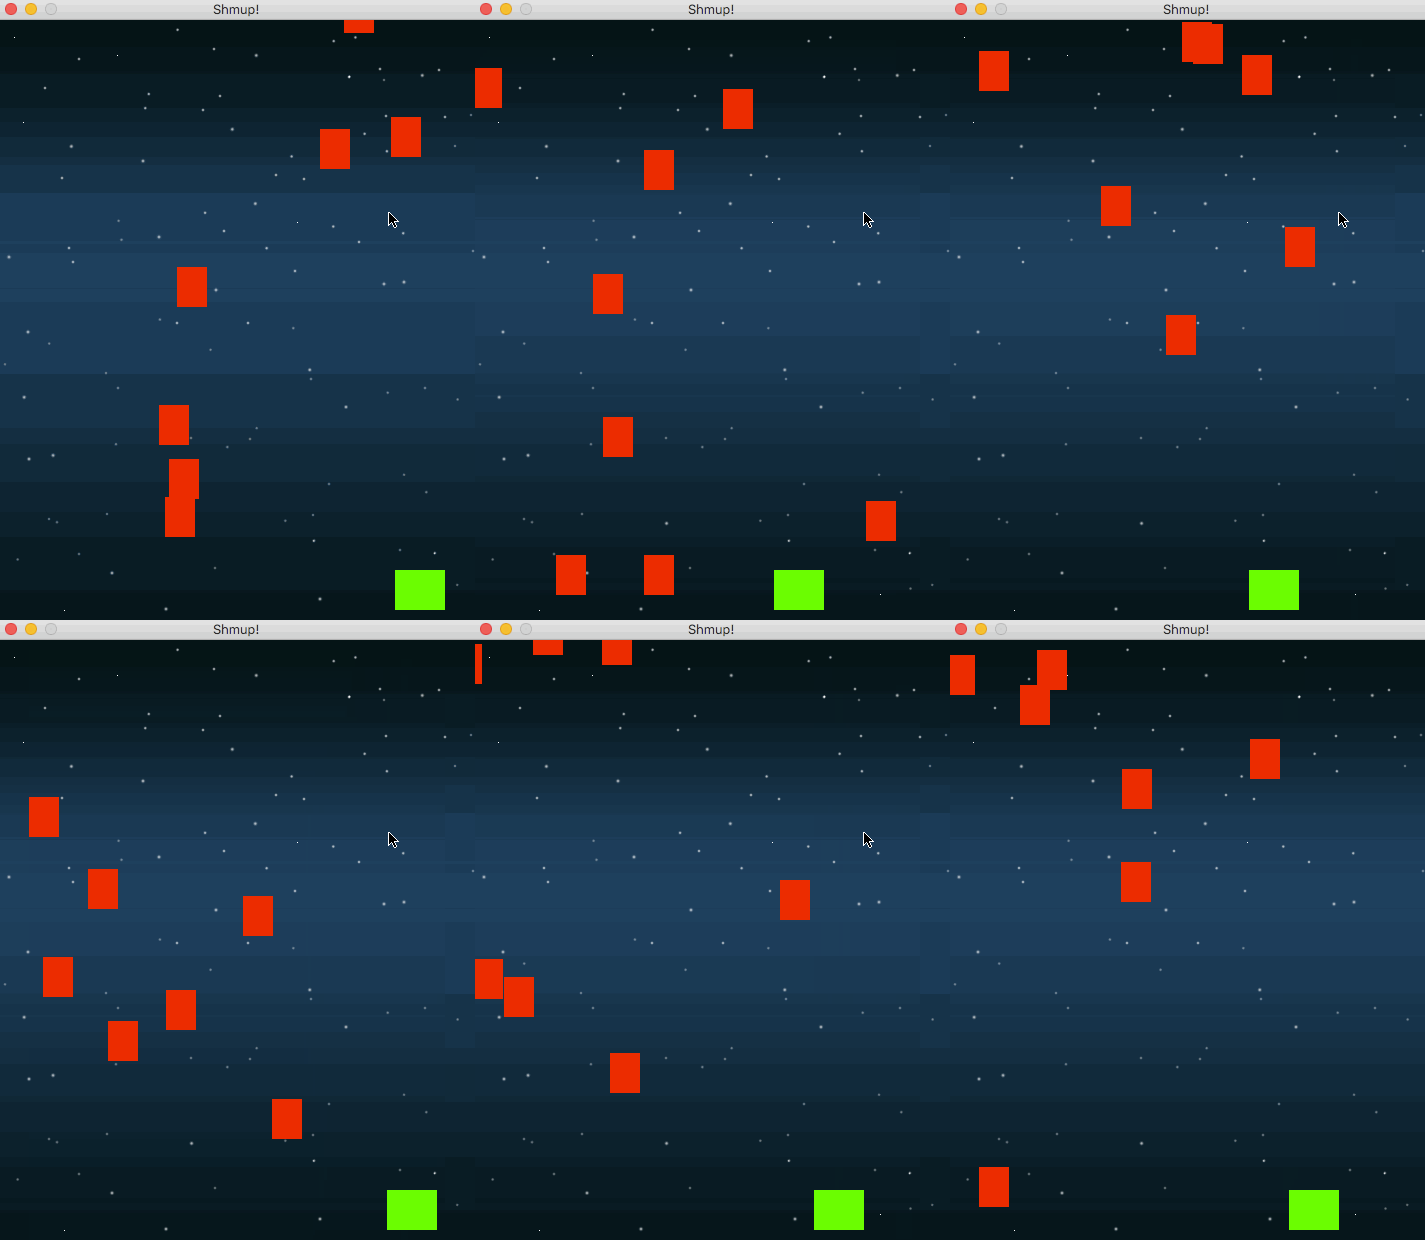
blit is an old-school computer graphics term that means to draw the pixels of one image onto the pixels of another image - in this case the background onto the screen. Now our background looks much nicer:
Sprite images
Now we can load the images for our sprites:
# Load all game graphics
background = pygame.image.load(path.join(img_dir, 'starfield.png')).convert()
background_rect = background.get_rect()
player_img = pygame.image.load(path.join(img_dir, "playerShip1_orange.png")).convert()
meteor_img = pygame.image.load(path.join(img_dir, "meteorBrown_med1.png")).convert()
bullet_img = pygame.image.load(path.join(img_dir, "laserRed16.png")).convert()
Starting with the player - we want to replace that green rectangle, so we change the self.image, and don’t forget to remove the image.fill(GREEN), which we no longer need:
class Player(pygame.sprite.Sprite):
    def __init__(self):
        pygame.sprite.Sprite.__init__(self)
        self.image = player_img
        self.rect = self.image.get_rect()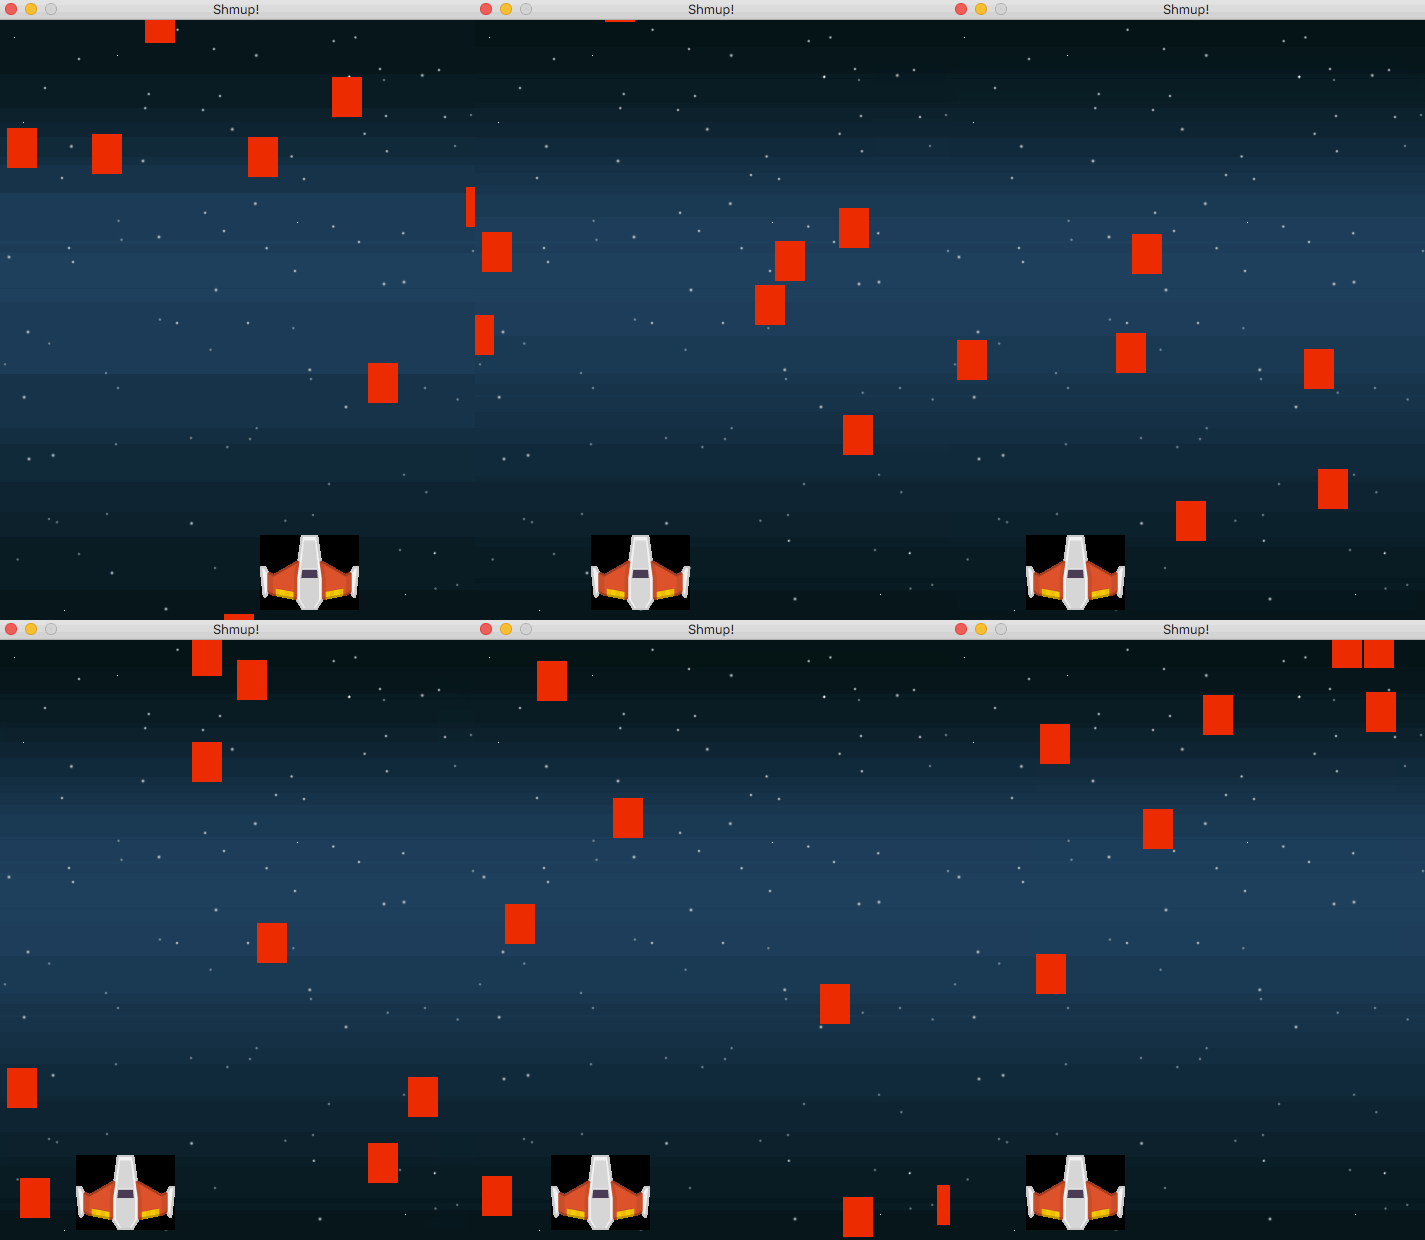
However, now we see a couple of problems. First, the image is a lot bigger than we’d like it to be. We have two options: 1) open the image in a graphics editor (Photoshop, GIMP, etc) and resize it; or 2) resize the image in our code. We’ll choose option 2, using Pygame’s transform.scale() command to make the image about half the size, which would be 50x30 pixels.
The other problem is that our ship has a black rectangle around it because we didn’t set the transparent color using set_colorkey:
self.image = pygame.transform.scale(player_img, (50, 38))
self.image.set_colorkey(BLACK)
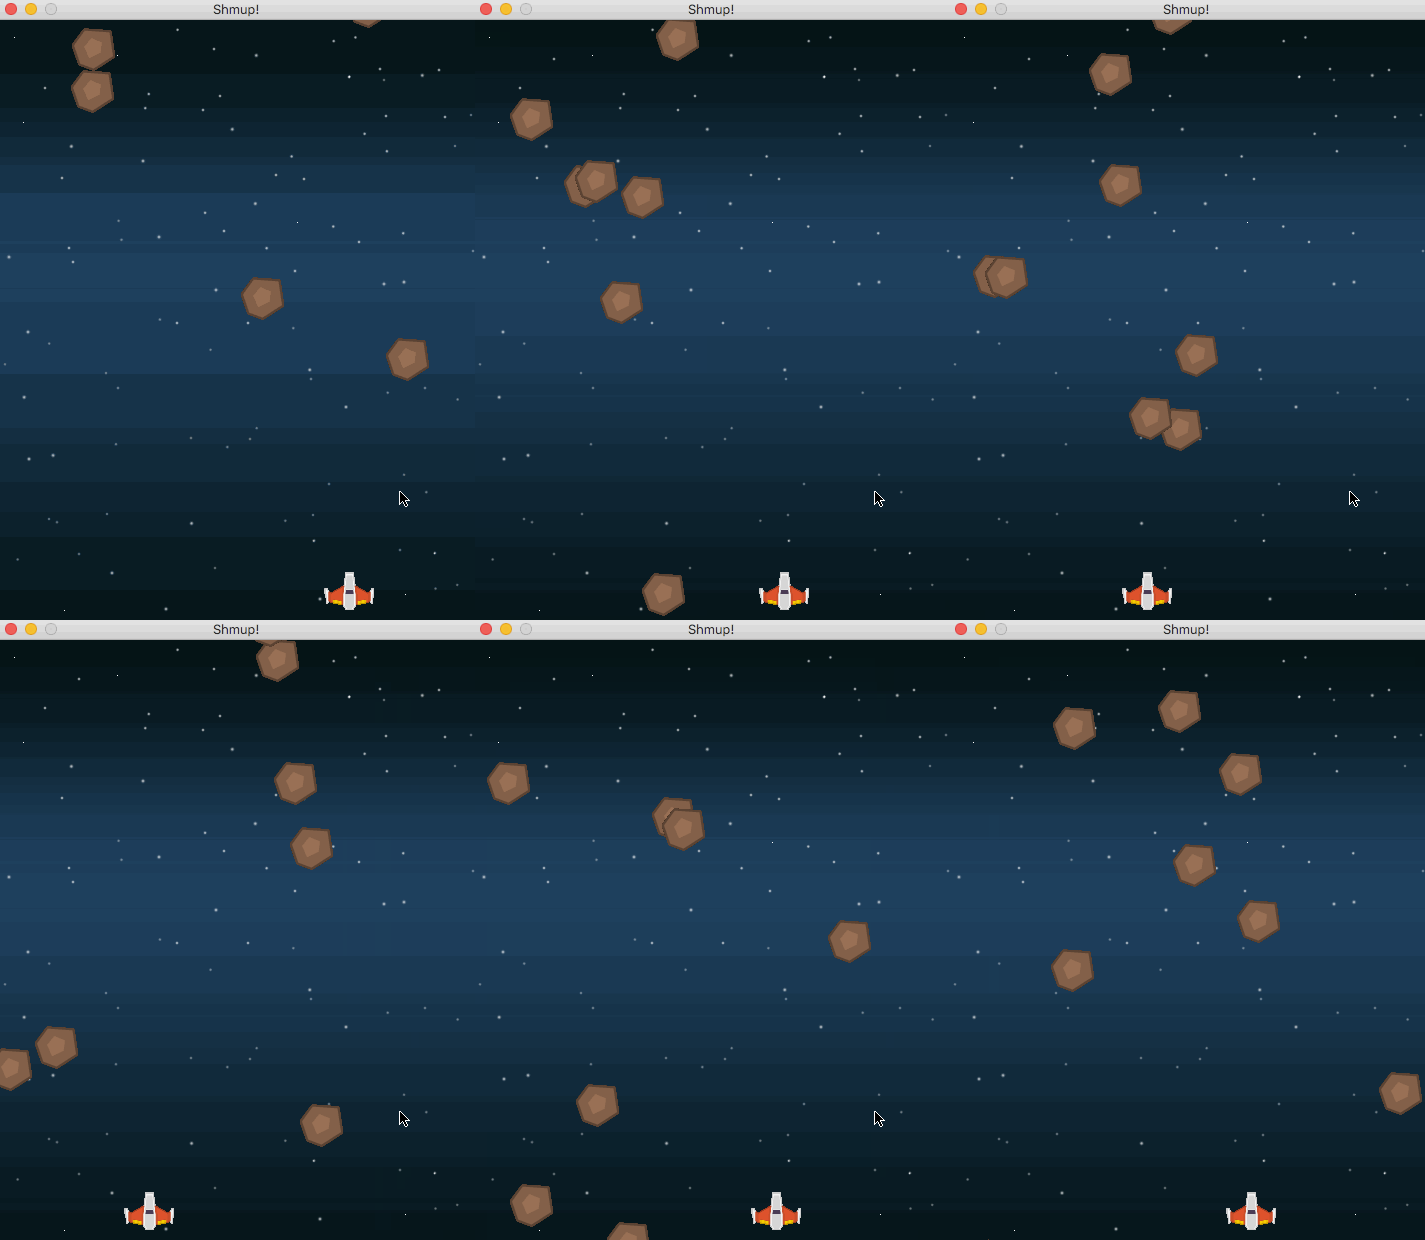
If we follow the same procedure with our Bullet and Mob classes (although we don’t need to scale them), we will wind up with a much nicer looking game:
Wrapping up
Now that we have our graphics in place, you may have noticed a new problem: sometimes the meteors destroy our ship even when it doesn’t look like they are touching. Try it yourself - how frustrating! In the next lesson, we’ll look at how to adjust the collisions so work correctly.
