Pygame Shmup Part 6: Sprite Animation
Sun, Aug 28, 2016This is part 6 of our “Shmup” project. If you haven’t already read through the previous parts, please start with Part 1. In this lesson we’ll make our meteors more interesting by adding a little bit of sprite animation.
About this series
In this series of lessons we’ll build a complete game using Python and Pygame. It’s intended for beginning programmers who already understand the basics of Python and are looking to deepen their Python understanding and learn the fundamentals of programming games.
You can watch a video version of this lesson here:
Animated meteors
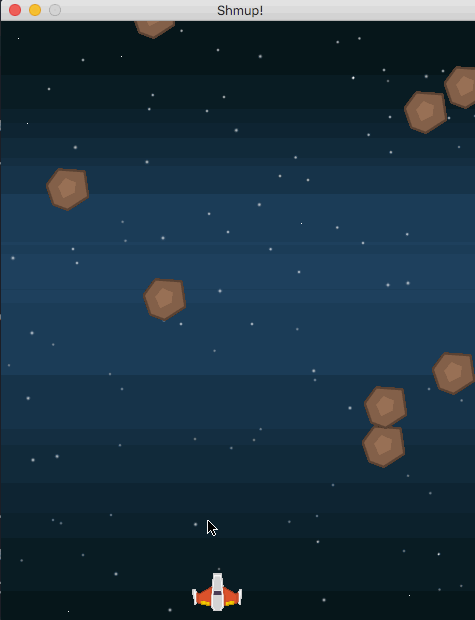
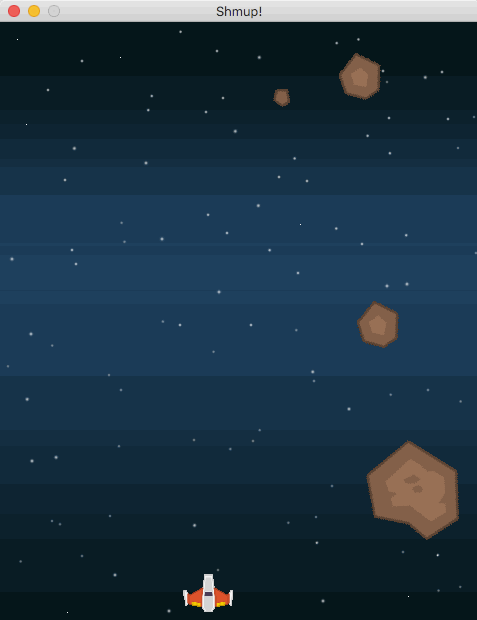
All of our meteors look exactly the same, which is not very exciting to look at:
How can we add a little more variety and visual appeal to the meteors? One way would be to add a bit of rotation, so that they look more like rocks tumbling through space. Rotation is relatively easy to do - just as we used the pygame.transform.scale() function to change the size of our Player sprite, we can use pygame.transform.rotate() to perform a rotation. However, there are a few things we need to learn along the way in order to make it work correctly.
First, let’s add some new properties to the Mob sprite:
class Mob(pygame.sprite.Sprite):
    def __init__(self):
        pygame.sprite.Sprite.__init__(self)
        self.image = meteor_img
		self.image.set_colorkey(BLACK)
        self.rect = self.image.get_rect()
        self.radius = int(self.rect.width * .85 / 2)
        self.rect.x = random.randrange(WIDTH - self.rect.width)
        self.rect.y = random.randrange(-150, -100)
        self.speedy = random.randrange(1, 8)
        self.speedx = random.randrange(-3, 3)
        self.rot = 0
        self.rot_speed = random.randrange(-8, 8)
        self.last_update = pygame.time.get_ticks()
The first property, rot (short for ‘rotation’), will measure how many degrees the sprite should be rotated. It starts out at 0 and will change over time. rot_speed measures how many degrees the sprite should rotate each time - bigger numbers will mean faster rotation. We’re picking a random value, with negative being counterclockwise and positive being clockwise.
The last property is an important one for controlling animation speed. We don’t really want to change the sprite’s image every frame, or it will appear much too fast. Whenever you’re animating a sprite’s image, you have to figure out the timing - how often the image should be changed.
We have a pygame.time.Clock() object, named clock, which is helping us control the FPS. By calling pygame.time.get_ticks() we can find out how many milliseconds have elapsed since the clock was started. This way, we can tell if enough time has gone by for us to make another change to the sprite’s image.
Rotating the image
We’re going to need a few lines of code to perform this operation, so we’ll make a new method for it called self.rotate(), which we can add to the update() method:
	def update(self):
		self.rotate()
This way we can keep our update method from getting too crowded, and you can also comment out that line if you want to turn rotation off. Here’s the start of our rotate method:
	def rotate(self):
		now = pygame.time.get_ticks()
		if now - self.last_update > 50:
			self.last_update = now
			# do rotation here
First, we check what time it is currently, then we subtract the time of the last update. If more than 50 milliseconds have gone by, then we’re going to update the image. We put the value of now into last_update and we can perform the rotation. Now, you might think that this is as simple as just applying the rotation to the sprite like this:
self.image = pygame.transform.rotate(self.image, self.rot_speed)However, if you try this, you will have a problem:
Rotation is destructive!
This happens because images are made up of a grid of pixels. When you try to rotate those pixels into a new position, some of them won’t line up anymore, so some information will be lost. That’s fine if you’re only rotating once, but repeatedly rotating the image will result in a scrambled image.
The solution is to use our rot variable to keep track of the total rotation amount (adding rot_speed each update) and to rotate the original image by that amount. This way we’re always starting with a clean image and rotating it only once.
First let’s keep a copy of the original image:
class Mob(pygame.sprite.Sprite):
    def __init__(self):
        pygame.sprite.Sprite.__init__(self)
        self.image_orig = random.choice(meteor_images)
        self.image_orig.set_colorkey(BLACK)
        self.image = self.image_orig.copy()
        self.rect = self.image.get_rect()
        self.radius = int(self.rect.width * .85 / 2)
        self.rect.x = random.randrange(WIDTH - self.rect.width)
        self.rect.y = random.randrange(-150, -100)
        self.speedy = random.randrange(1, 8)
        self.speedx = random.randrange(-3, 3)
        self.rot = 0
        self.rot_speed = random.randrange(-8, 8)
        self.last_update = pygame.time.get_ticks()
Then in the rotate method we can update the value of rot and apply that rotation to the original image:
    def rotate(self):
        now = pygame.time.get_ticks()
        if now - self.last_update > 50:
            self.last_update = now
            self.rot = (self.rot + self.rot_speed) % 360
            self.image = pygame.transform.rotate(self.image_orig, self.rot)
Note that we used the remainder operator - % - to prevent rot from having values greater than 360.
We’re almost there - the images look fine - but we still have a small problem:
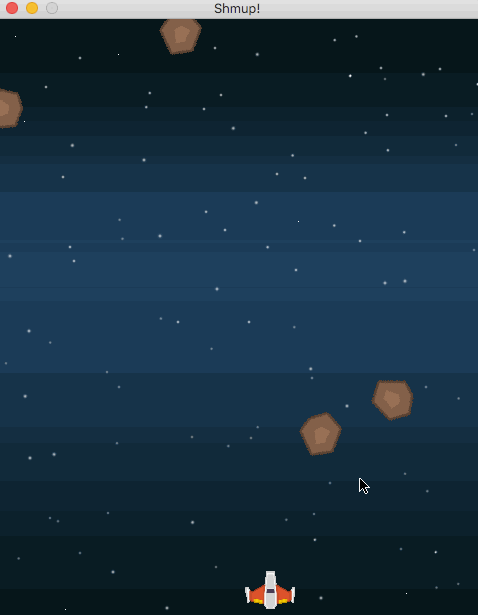
The meteors look like they’re bouncing instead of rotating smoothly.
Updating the rect
After rotating an image, the size of the rect may no longer be correct. Let’s look at an example where we want to rotate a picture of a spaceship:
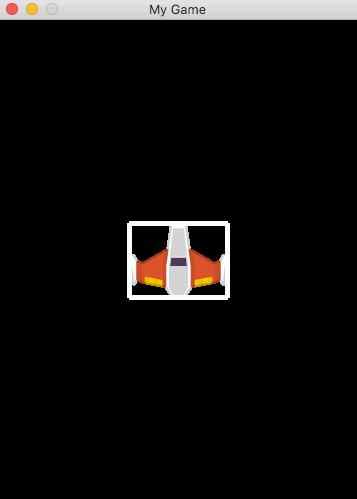
Here we can see that while we’re rotating the image, the rect is remaining the same. We need to calculate a new rect each time the image changes:
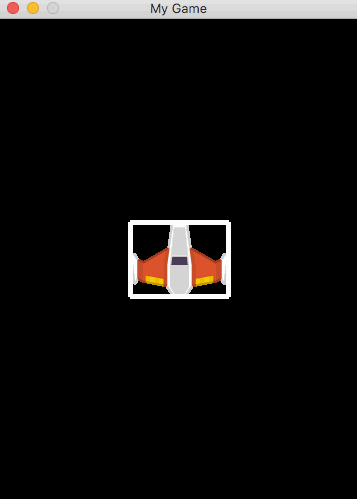
It’s easy to see how the size of the rect can change quite a bit depending on how the image is rotated. Now, to fix the “bouncing” effect, we need to make sure we keep the new rect centered at the same location as the old one, instead of being anchored at the top left corner:

Bringing this to back to our rotate code, we just record the location of the rect’s center, calculate the new rect, and set its center to that saved one:
	def rotate(self):
        now = pygame.time.get_ticks()
        if now - self.last_update > 50:
            self.last_update = now
            self.rot = (self.rot + self.rot_speed) % 360
            new_image = pygame.transform.rotate(self.image_orig, self.rot)
            old_center = self.rect.center
            self.image = new_image
            self.rect = self.image.get_rect()
            self.rect.center = old_center
Random meteor images
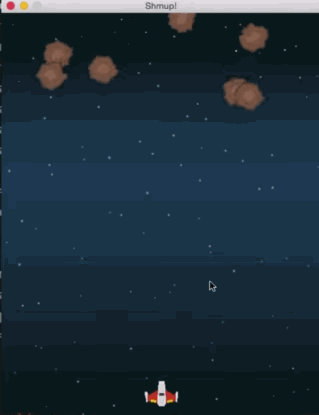
The last thing we can do to make the meteors more interesting is to randomize the images, using different sizes and looks for each meteor.
First, we’ll load all the meteor images and put them into a list:
meteor_images = []
meteor_list =['meteorBrown_big1.png','meteorBrown_med1.png',
              'meteorBrown_med1.png','meteorBrown_med3.png',
              'meteorBrown_small1.png','meteorBrown_small2.png',
              'meteorBrown_tiny1.png']
for img in meteor_list:
    meteor_images.append(pygame.image.load(path.join(img_dir, img)).convert())
Then all we have to do is choose a random image when our meteor is spawned:
class Mob(pygame.sprite.Sprite):
    def __init__(self):
        pygame.sprite.Sprite.__init__(self)
        self.image_orig = random.choice(meteor_images)
        self.image_orig.set_colorkey(BLACK)
        self.image = self.image_orig.copy()
Much better!
Wrapping up
Animated sprites add a lot of visual appeal to a game, whether it’s spinning rocks or a running/jumping/crouching hero. However, the more animations you have, the more images you have to keep track of. The trick is to keep them organized and take advantage of tools like the pygame.transform commands - as long as you’re careful about their limitations.
In the next part we’ll start keeping score and dive into how to draw text on the screen.